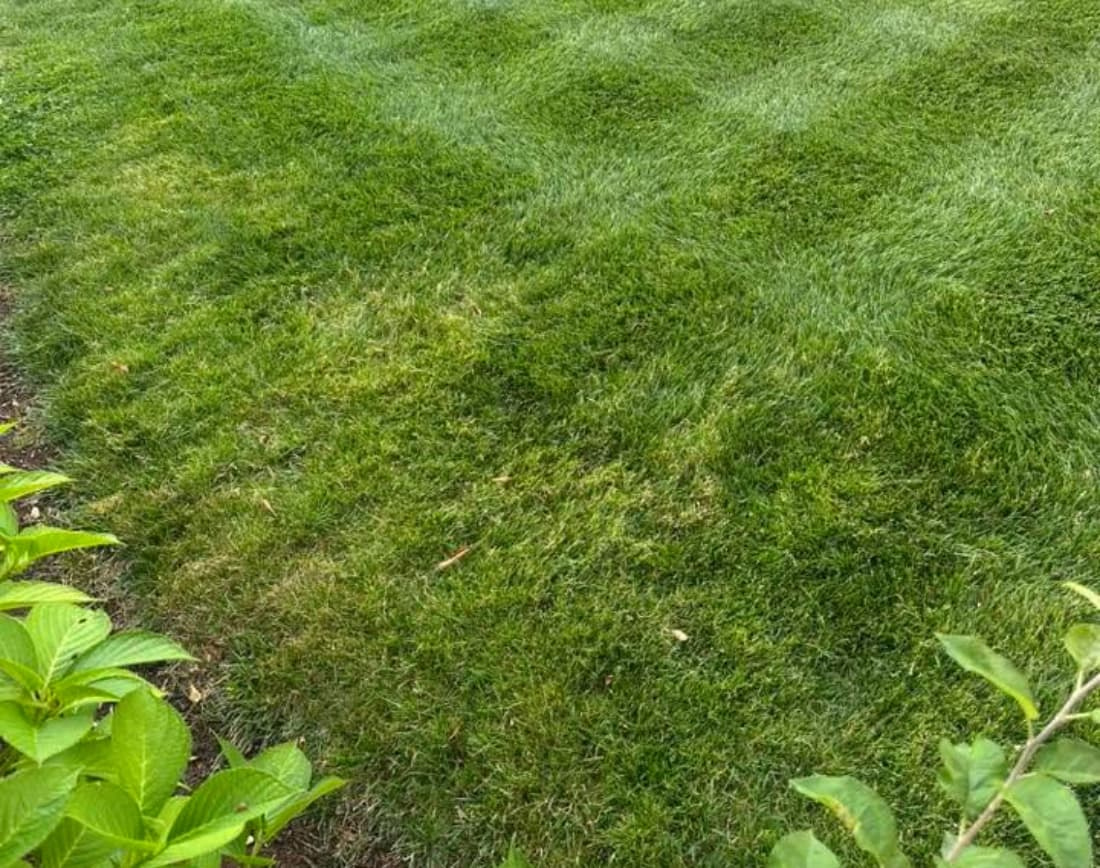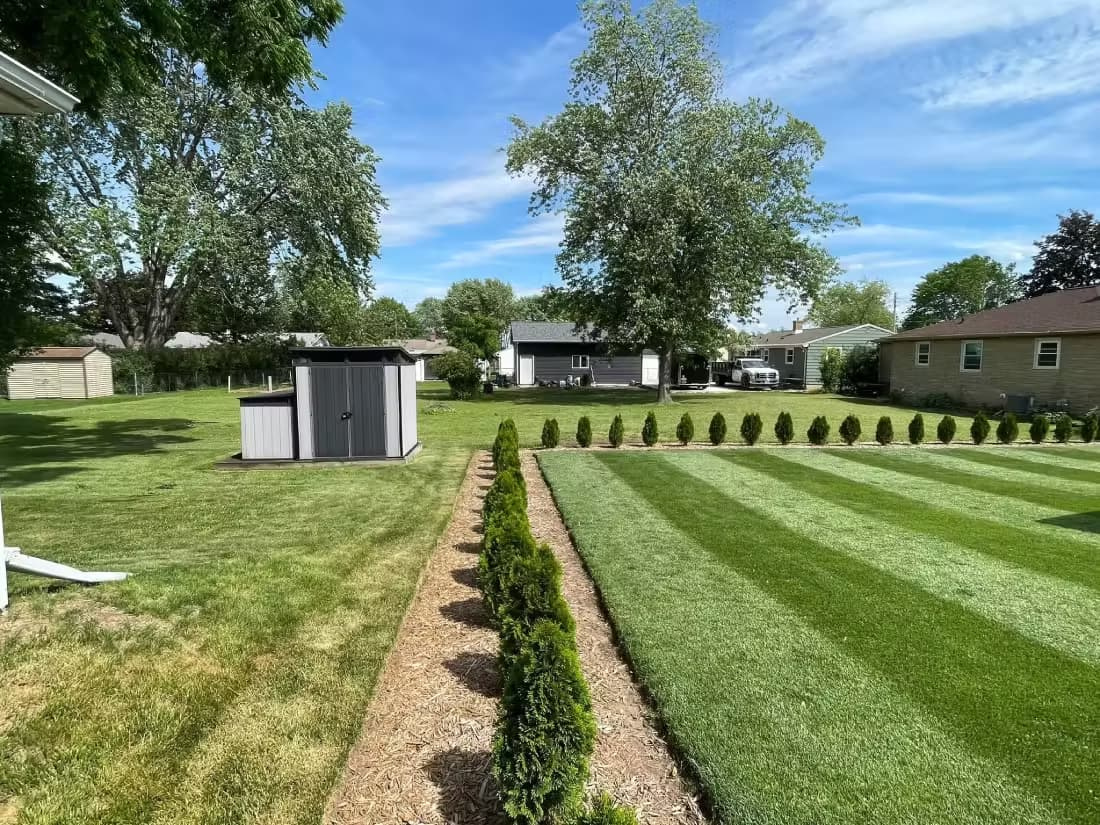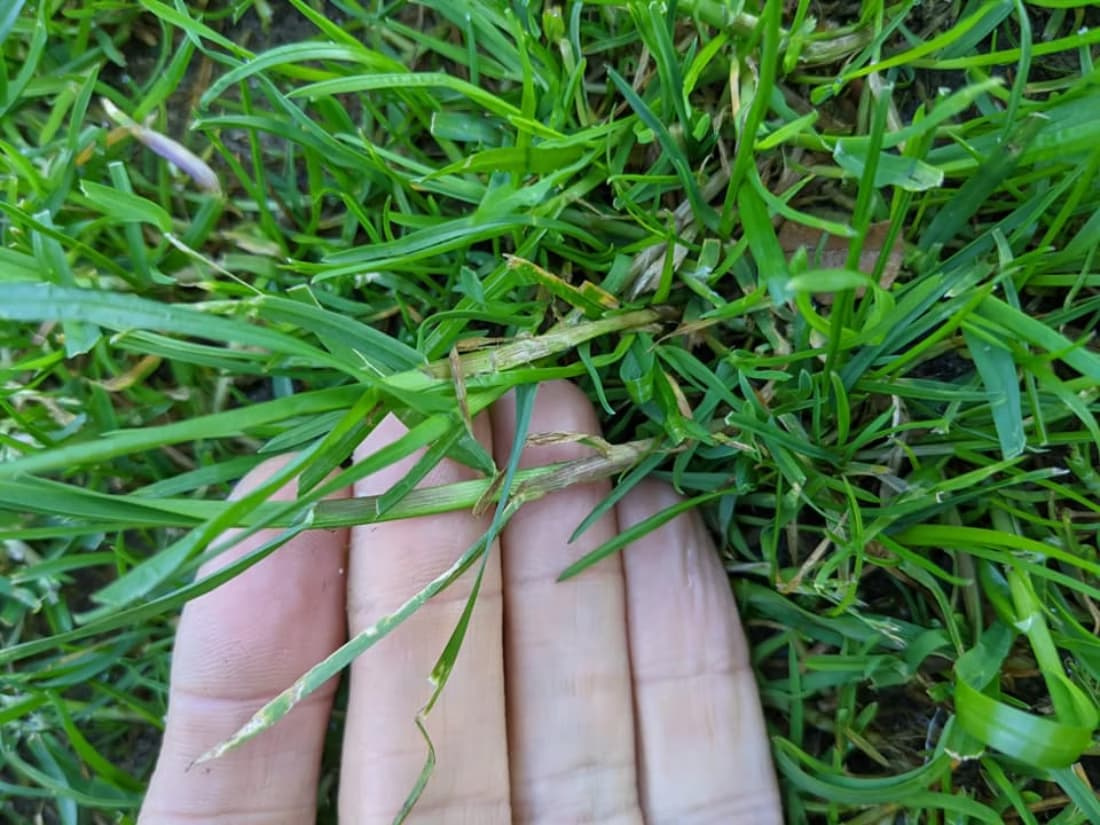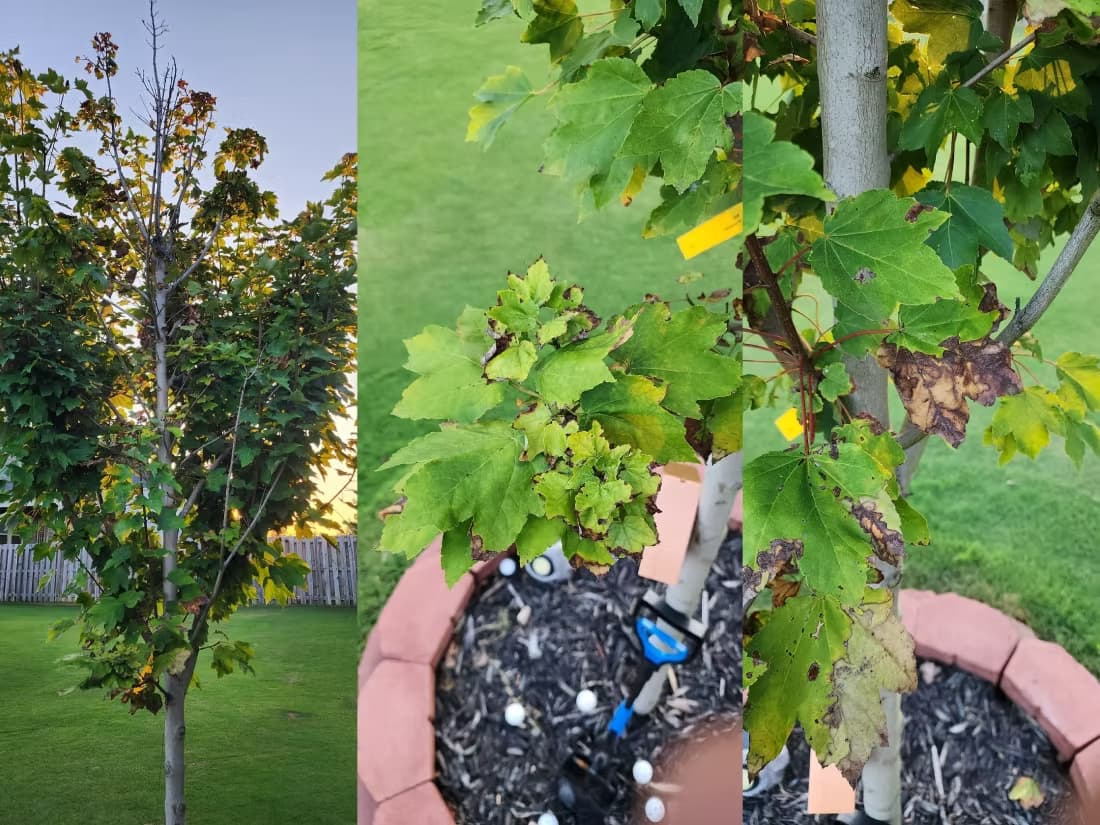
“Just double the dose — you want to make sure it dies.” “Roundup is Roundup, grab whatever’s on the shelf.” “Pre-emergent? I’ll put it down when I start seeing weeds.” “It’s fine around my flowers — it’s just Roundup.” “Spray it on a hot, calm afternoon and let it cook.” Somewhere along the way, weed control turned into a folk art of eyeballed mixes, mystery bottles, and guesswork timing. The results are predictable: a pre-emergent laid down two weeks too late that stopped nothing, a flower bed with pale, crispy edges weeks after a “safe” spray, and a half-used jug of something nobody can identify anymore. Nearly every one of these habits does the opposite of what people think — and most trace back to the same handful of mistakes: trusting the brand instead of the label, believing more product means a faster kill, and using the wrong method for the job in front of you.
The MFY Advice
Read the active-ingredient panel and the label rate before you open the bottle — then match the method to the job. The brand name no longer tells you what’s inside, and more product never kills faster. Before anything else, know which of four situations you’re in, because each one changes the product, the equipment, and the technique:
Are you working before the weed sprouts (pre-emergent) or after it’s already growing (post-emergent)? And are you treating a lawn, where the grass itself protects you, or a garden bed, where nothing does? Those two questions decide almost everything that follows.
Table of Contents
Why Correct Application Actually Works
Most weed-killer failures aren’t bad luck. They’re a mismatch between how the chemical works and how it got used. Start with the biggest fork in the road: are you stopping a weed before it appears, or killing one that’s already there? Those are two completely different tools that work in opposite ways.
Post-emergents kill weeds that are already growing
A post-emergent herbicide is applied to a weed you can see. It comes in two flavors. A systemic product is absorbed through the leaves and then pipes down into the roots through the plant’s own plumbing — that’s what lets it kill a deep-rooted perennial instead of just burning the top. A contact product only damages the exact tissue it touches; it burns the leaf fast but doesn’t travel, so perennials regrow from the untouched root.
A systemic weed killer only moves when the weed is actively growing. The plant only runs its plumbing when it’s growing. A weed baking in a drought closes its pores and thickens the waxy coat on its leaves to survive — so the chemical can’t get in, and the little that does just sits there. Spray a stressed weed and you’ve fed it nothing. Spray an actively growing one and it pulls the product all the way down to the root.
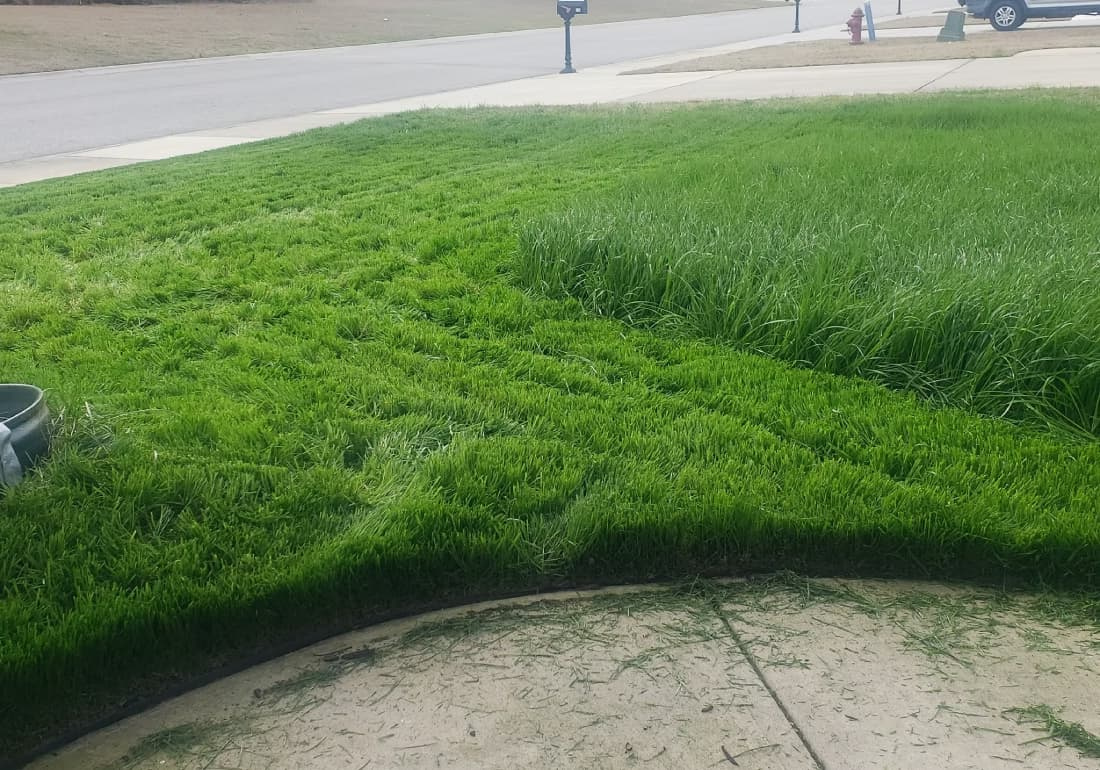
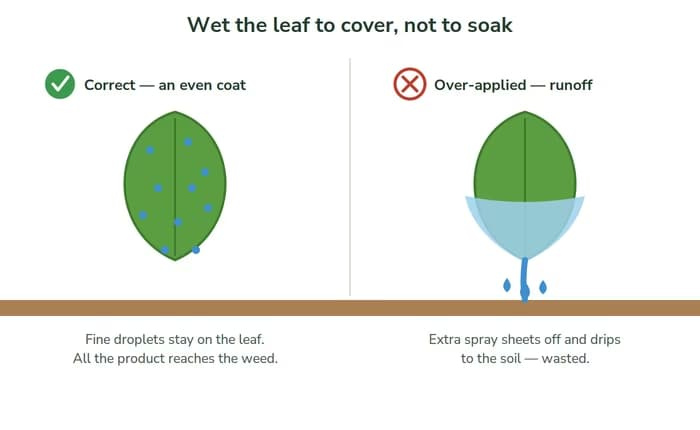
You’re spraying to cover the leaf, not to soak it. Once a leaf is evenly wet, extra spray doesn’t cling — it beads up and rolls off onto the ground, carrying the active ingredient away from the plant. So the person drenching a weed until it drips delivers less product to the target than the person who stops at a light, even coat. Wet the leaf; stop before it runs. (There’s a second reason not to over-soak a systemic: flooding the leaf can kill the surface tissue so fast that the plant’s plumbing shuts down before the chemical reaches the root, leaving the perennial alive underground.)
Pre-emergents stop weeds before they sprout
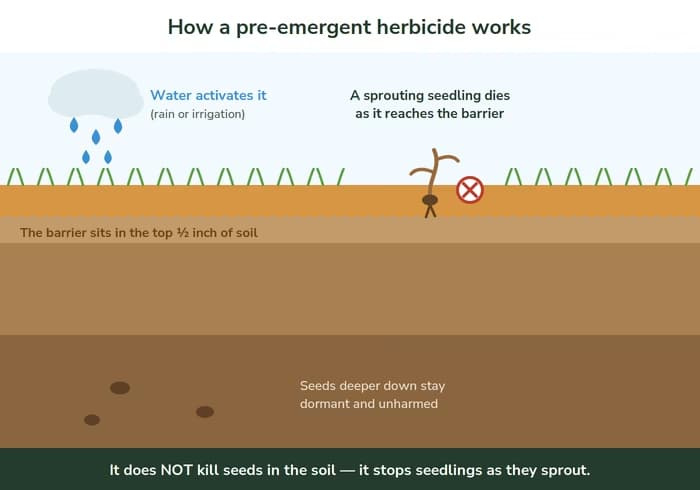
A pre-emergent works in the opposite direction, and this is where the biggest misunderstanding lives. It does not sterilize or kill the seeds sitting in the soil, and it does nothing to a weed that’s already up. Instead, it lays a thin, continuous chemical barrier across the top quarter- to half-inch of soil — exactly the zone where most weed seeds germinate. When a seed sprouts and its first tiny root or shoot tries to push through that layer, the chemical stops those brand-new cells from dividing, and the seedling dies before it ever breaks the surface.
That flips the whole logic of timing. For a post-emergent, the question is “is the weed actively growing?” For a pre-emergent, there is no visible weed — the barrier has to already be in place and switched on before the seeds germinate. Two things follow from that, and both are covered below: the barrier has to go down early (waiting until you see weeds means you’ve already lost), and it has to be activated by water before it does anything at all.
More product doesn’t speed the kill — it just causes damage. This holds for both types. A herbicide works at the rate the label sets because that’s the dose tested to do the job without harming your good plants. Double it and the weed dies at the same speed, but now the extra chemical scorches your grass or ornamentals, runs off into the soil and storm drains, and empties your wallet faster. Over-application also breaks federal law. There is no “insurance dose” — the label rate is the effective dose.
Drift and vapor carry product where you never applied it. Two things move a treatment off-target. Drift is tiny spray droplets blown sideways by wind. Volatility is the chemical turning into an invisible vapor after it lands — something heat makes much worse — that then floats onto a neighbor’s tomatoes or your own flower bed. Fixing both comes down to bigger droplets, lower pressure, cooler and calmer weather, and keeping the nozzle low. The rest of this guide keeps returning to that.
When Herbicides Work, and When They Don’t
Weed-specific timing lives on each weed’s own page. This is the general frame underneath all of it, and it splits along the same pre/post line.
Timing a post-emergent means following the growth
Because a systemic product travels only through a growing plant, the whole question of “when” is: is the weed actively growing? For most weeds that means two golden windows. Spring, when weeds wake up and put on new growth. Fall, when perennials pull energy down into their roots for winter — and pull your herbicide down with it, which is why fall is often the strongest time to hit a tough perennial.
Heat and drought shut the window. When it’s hot and dry, both the weeds and your good plants stop growing to conserve energy. Spraying then does two bad things at once: the weed won’t absorb the chemical, and your already-stressed grass or ornamentals can’t break the herbicide down the way healthy plants can. If your lawn is drought-stressed, water it and wait — a modest soak of about half an inch every two to three weeks keeps the crowns alive during a dry spell — and hold off on spraying until real growth returns. And don’t spray if heavy rain is coming within 24 to 48 hours, or the rain rinses the product off the leaf before the plant absorbs it.
Timing a pre-emergent means beating germination, then watering in
Soil temperature is the trigger, not the calendar. Weed seeds germinate when the soil hits a certain temperature for a few days running, and your pre-emergent has to be down and active before that happens. Soil temperature — not the date — is what to watch. (As one well-known example, crabgrass tends to start germinating when the soil about two inches down holds around 55°F for a few consecutive days; the exact number for each weed lives on its own page.) The old “wait for the forsythia to bloom” trick is a rough proxy, but it fails in warm microclimates — soil next to a south-facing wall, a sidewalk, or a driveway heats up faster, so weeds there can sprout while the forsythia is still in flower.
The most common pre-emergent failure is applying too late. Once a seedling’s root has pushed through the germination zone, the barrier can’t touch it — that plant is now a post-emergent problem. If you’re already seeing the weed, the pre-emergent window for that flush has closed.
A barrier doesn’t last forever. A single application at the label rate typically holds for about 8 to 12 weeks before soil microbes break it down, faster in warm, moist soil. To cover a long germination season — the reason one spring application often lets late-season weeds like crabgrass slip through — many products allow a split application: put down about half the yearly labeled rate at the first spring window, then the remaining half roughly 6 to 10 weeks later. The second dose overlaps the first just as it’s fading, topping the barrier back above the level that stops germination and carrying protection into late summer. Follow the label for the rate and the seasonal maximum — a split spreads that same total across the season, it doesn’t add more.
Water activates it — dry, it does nothing. A pre-emergent sitting on dry soil is completely inactive. It has to be dissolved and carried into that top half-inch by water before it forms a barrier, so most products need roughly a quarter- to one inch of rain or irrigation within a couple of days to two weeks after you apply. Miss that window and two things go wrong: the barrier never sets, and on warm, damp-but-un-watered soil some products simply evaporate away, so a delay of even a few hours can cost a big chunk of your control. Plan your application around water.
Gear Up, Then Apply
Equipment Prep
Good application is mostly setup. What you reach for depends on which job you’re doing — liquids go through a sprayer, granules go through a spreader — but the prep discipline is the same.
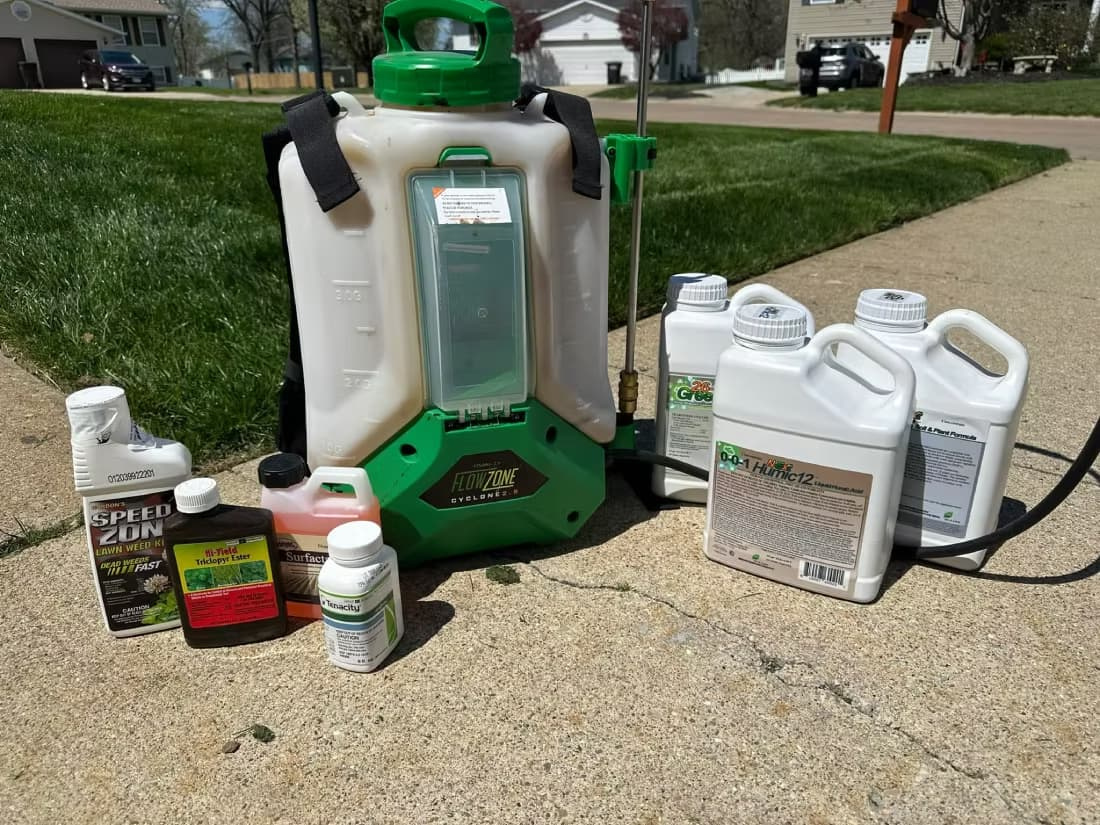
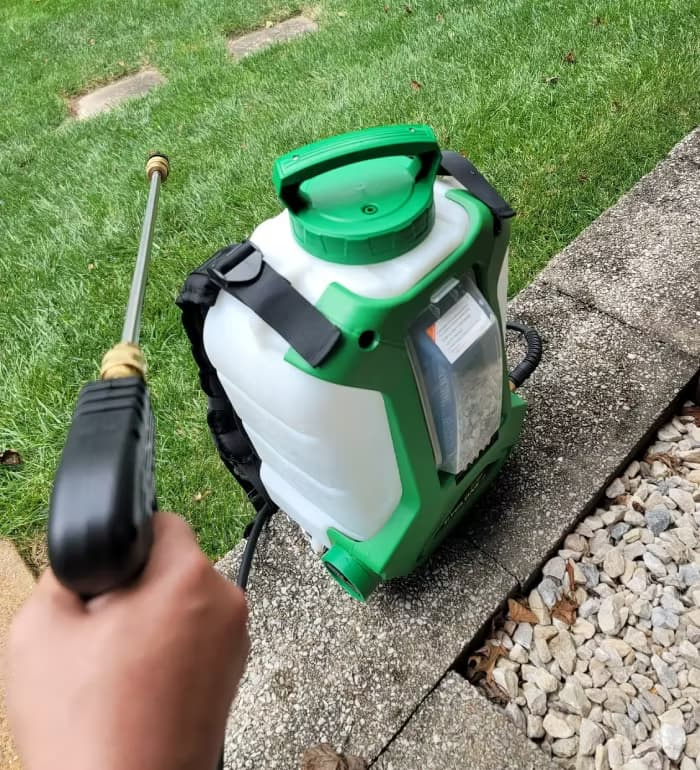
For liquids: a pump or backpack sprayer, not a hose-end sprayer. A hand-pump or backpack sprayer lets you hold a steady pressure and lay down a known amount of product per 1,000 square feet. That control is the whole point. A hose-end sprayer — the kind that screws onto your garden hose — is discouraged by extension programs and many manufacturers for herbicides, because your home water pressure rises and falls on its own, so the dilution keeps shifting and there’s no fine way to meter the dose. For anything you care about getting right, choose the pump or backpack.
For granules: a drop or rotary spreader you can calibrate. Most pre-emergents (and some post-emergent products) come as granules that go down through a spreader. A drop spreader releases granules straight down in a precise band; a rotary spreader flings them in a wide arc, which is faster but throws more product in the center of the pass than at the edges. Either way, the setting on the bag is a starting point, not a truth — granules differ in size and weight between brands, so you calibrate with the actual product (covered below).
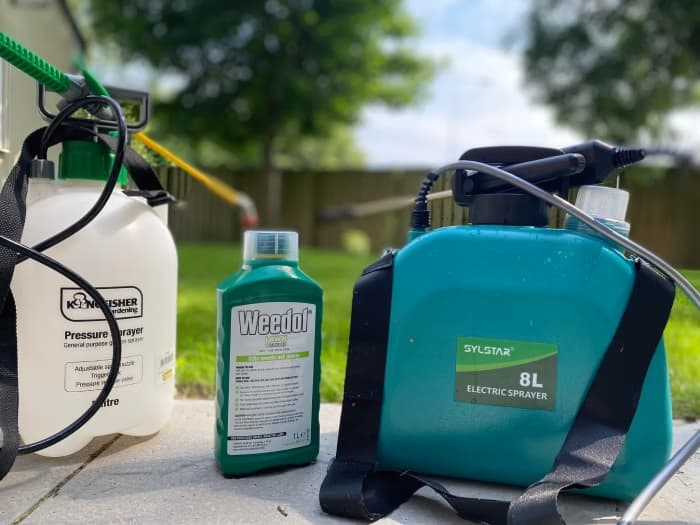
The rest of the kit, whichever job you’re doing: dedicated measuring cups kept only for chemicals (never a kitchen cup); the right gloves and PPE, laid out before you open anything (full list in the Safety Audit); a spray-marking dye so you can see where you’ve been and avoid double-coverage or gaps; and clean water for mixing and rinsing.
Execution
The first three steps are the same for everyone. Then the path splits by equipment.
Start here, every time. First, read the label and the active-ingredient panel — confirm what the chemistry actually is, that the product is cleared for your site (lawn versus bed; see the next section), and what the rate and signal word are. Second, name your situation — pre-emergent or post-emergent, lawn or bed — because it decides everything downstream. Third, measure the area: break the yard into rectangles, triangles, and circles, add them up, then subtract what you won’t treat (patios, beds, driveway). That net number matters because the label rate is written “per 1,000 square feet.”
The spray track (liquids, usually post-emergent).
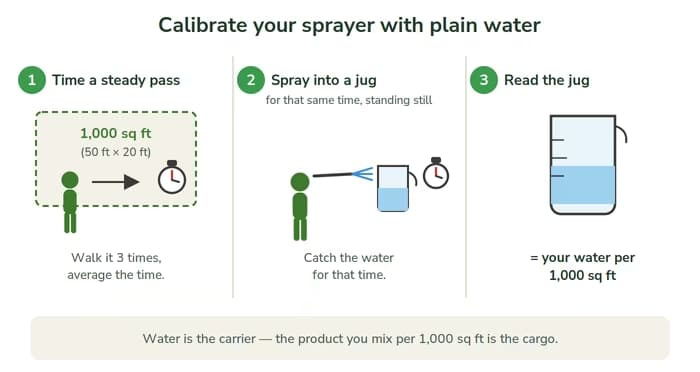
- Calibrate the sprayer with plain water. Mark a 1,000-square-foot test plot (for example, 50 ft × 20 ft), walk it at a steady, comfortable pace spraying evenly, and time it — do it three times and average. Then, standing still at that same pressure, spray into a measuring container for that average time. The ounces you collect is how much water your sprayer puts on 1,000 square feet, so now you can mix the exact right amount of product into it. The water is just the delivery truck; the product per 1,000 sq ft is the cargo.
- Mix in the right order. Fill the tank one-half to three-quarters full with clean water first, then add the product — never product into an empty tank, or it can clump and clog — and add any surfactant or dye last. One caution before you reach for a surfactant: many products already contain one, and the label tells you whether to add more. If it doesn’t call for extra, don’t — doubling up can burn the foliage and waste money, and some labels warn against it outright. Mix only what you’ll use today.
- Apply to cover. Walk at the pace you calibrated with. Wet each weed to an even coat and stop before runoff. Overlap your passes so you don’t leave light stripes (see the overlap note under What Separates a Good Application From a Great One). Near beds and desirable plants, switch to directed spot-spraying — the whole next section is about that.
The spreader track (granules, usually pre-emergent).
- Calibrate the spreader with the real product. Because granules vary by brand, set the gate to the bag’s suggested setting, then check it: run a test pass over a shallow catch pan or tray of known area, weigh what you collected, and compare it against the product’s calibration chart. Adjust the gate until the weight per area matches the label rate. For rotary spreaders, which throw heavy in the middle, apply in overlapping passes (or in a grid, going one direction and then at right angles) so the light edges fill in.
- Apply to dry foliage, evenly. Spread in that same overlapping pattern to avoid streaks. One granular-specific rule: the plant leaves must be dry. If dew or rain is sitting on the foliage, granules stick to the leaves, and once a granule dissolves against leaf tissue it burns a hole in it. Dry leaves let the granules bounce down to the soil where they belong.
- Water it in to activate. This is the step people skip. A granular pre-emergent does nothing until water carries it into the soil, so follow the label’s activation guidance — usually about a quarter- to one inch of irrigation or rain within a couple of days. No water-in, no barrier.
Then, for everyone: re-entry and cleanup. Keep people and pets off the treated area until a spray has dried completely, or until granules have been watered in and the surface has dried. Afterward, rinse the tank, wand, and nozzles (or the spreader) with clean water, capture the rinse water for a labeled use rather than dumping it, triple-rinse and puncture empty containers, and store or dispose of everything properly. Details are in the Safety Audit — skipping cleanup is how last month’s product becomes next month’s damage to something you didn’t mean to treat.
The trap worth naming out loud: buying a non-selective product to “kill the weeds in my lawn.” Non-selective means it kills any green plant it touches — including your grass. A selective lawn herbicide is built to take out certain weeds while leaving turf alone. Grab the wrong one and the weeds die and so does everything around them. This is decided at the panel, before purchase — not in the yard.
Lawns and Beds Are Two Different Problems
Here’s the piece the first version of this guide missed, and it matters on every weed page: where you spray changes how you stay safe. A lawn and a garden bed protect your good plants in completely different ways.
In a lawn, the chemistry protects you. A lawn is one kind of plant — grass — so a selective herbicide can exploit the biological difference between the grass and the weed, killing the weed while the turf shrugs it off. You can broadcast it over the whole lawn because the grass is built to survive it. That’s chemical selectivity.
In a mixed bed, nothing protects you — so you have to. A planting bed is a jumble of shrubs, perennials, annuals, and groundcovers with no single plant class to spare, so broadcast chemical selectivity mostly isn’t available. Safety shifts to what the applicator does physically: you keep the chemical off every desirable plant yourself. This is spatial and mechanical selectivity, and it comes in four techniques:
- Directed spraying — aiming only at the weed’s foliage or at bare soil beneath mature, woody shrubs whose brown, corky bark resists uptake. Don’t use it where weeds are tangled into low, green, leafy plants; the risk of hitting them is too high.
- Shielded spraying — putting a physical barrier (a nozzle hood, or even a piece of cardboard or plastic held between the nozzle and the good plant) to block droplets. This is the standard move for using a strong non-selective like glyphosate close to something precious. A shield stops droplets, though — not vapor from a volatile product.
- Spot treatment — hitting individual weeds or small clumps with a hand sprayer. Great for the few escapees that survive mulch or hand-weeding; too slow for a big infestation, and risky if the weed is pressed right against a desirable plant.
- Wick, wipe, or paint-on — physically wiping or painting concentrated product onto the weed with a sponge, rope-wick, or brush. Ideal when the weed stands taller than the plants around it, or when it’s growing straight out of the middle of a desirable clump. It’s slow and uses strong solution, so glove up.
The one exception where chemistry still helps in a bed. There’s a class of selective post-emergent called a graminicide (grass-killer) that targets an enzyme only true grasses have. It kills grassy weeds while leaving broadleaf ornamentals — and grass-like plants such as liriope and iris — completely unharmed, so you can often spray it right over the top of them. The catch: it will also kill your desirable ornamental grasses, so keep it away from those.
Watch the roots, not just the leaves. Some products have little soil life and won’t hurt a neighbor through the ground; others linger and move in the soil, where the roots of nearby shrubs and trees — which reach well past the edge of the branches above — can pull them up and suffer damage weeks later. This is exactly why the reformulated-Roundup issue in the next section matters so much in beds. When a product has soil activity, physically isolating the spray isn’t enough on its own; you also have to respect where the roots are.
Before you plant something new in a treated bed, check the plant-back time. Products that stay active in the soil have a plant-back interval — how long you must wait before it’s safe to set new plants in that ground. It ranges from essentially zero for fast-binding products to many months for persistent ones. This is a place where extension advice and the product label sometimes give different numbers; the label is the legally binding one, so read it and follow it, and when in doubt wait longer or test a few plants in the soil first.
Pre-emergents in beds have their own rhythm. A pre-emergent barrier works under mulch too, and mulch and chemical actually team up — the mulch blocks light while the barrier stops sprouts. Keep organic mulch at about 2 to 3 inches: thinner lets light through and weeds germinate; thicker starves ornamental roots of oxygen. Because beds are watered often and rich in organic matter, the barrier breaks down faster there than in a lawn, so beds usually need re-treatment roughly every three months through the growing season.
What Separates a Good Application From a Great One
Everything above gets you a correct, safe application. These are the refinements that make it reliably good.
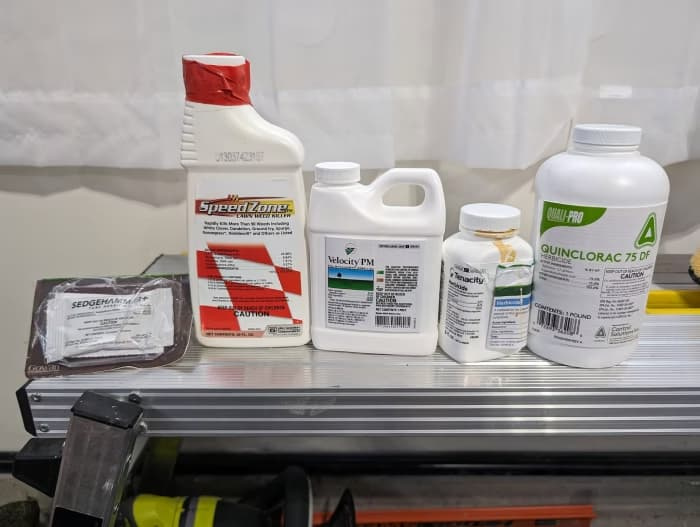
Brand is marketing; chemistry is the panel. This is the deep cut of the whole guide. Brand names are marketing labels, and manufacturers change what’s inside them. The clearest example is consumer “Roundup.” For decades the name meant glyphosate — a systemic with almost no soil activity, which is why people learned to trust it near beds. But Bayer announced in 2021 that it would pull glyphosate from its consumer (home lawn-and-garden) Roundup line, rolled the change out beginning in 2023, and by 2024–2025 the homeowner versions no longer contain glyphosate at all. They’re now built on other actives — commonly diquat, fluazifop-P-butyl, triclopyr, and imazapic — and some of those (triclopyr, imazapic) do have soil activity and root uptake. The bottle looks almost identical, and old glyphosate stock may still sit on shelves, while professional and commercial Roundup still contains glyphosate. So someone who sprays “Roundup” along a bed edge expecting the old, soil-safe behavior can now injure or kill nearby shrubs long after the spray dried. The lesson isn’t “this one brand changed.” It’s that “I’ve used this before” is no longer safe to assume for any product. Read the panel every time.
Coarse and low, not fine and high. Small droplets drift; large ones drop. Run the lowest pressure that still gives an even pattern (for hand sprayers, roughly 15 to 30 PSI), favor low-drift or air-induction nozzles that make coarse droplets, and hold the wand close to the target — no more than about 24 inches above the canopy in a tight bed, and 20 to 30 inches is fine over open lawn. If you need to put down more liquid, use a nozzle with a bigger opening rather than cranking up the pressure, which just shears the spray into a drift-prone mist.
Overlap your passes 30–50%, not a token sliver. The common flat-fan nozzle lays down less liquid at the outer edges of its pattern than in the middle. If your passes barely touch, those thin edges line up into pale stripes of survivors. Overlapping each pass by about a third to a half evens the coverage out.
The “hot calm afternoon” myth, wrong twice. First, heat: certain products — the ester forms of broadleaf killers like 2,4-D and triclopyr — turn to vapor and drift once temperatures climb into the mid-80s°F and up. Where a low-volatile amine version exists, use it in tight spaces. Second, “calm” isn’t the safe end of the scale. Dead-still air often signals a temperature inversion — a trapped layer of cool air, common on clear, windless evenings — in which your fine droplets and vapors can’t rise and disperse; they hang in a concentrated cloud and drift sideways a long way. The working range is a light, steady breeze of about 2 to 10 mph blowing away from anything sensitive, in a cooler part of the day. Signs to postpone: winds under a couple of mph, heavy dew or ground fog, or smoke and dust flattening into a horizontal layer instead of rising.
Calibration is a re-check, not a one-time ritual. A different walking pace, a worn nozzle or spreader gate, a change in pressure — any of these shifts your output. Re-run the plain-water (or catch-pan) calibration when you change gear or come back after a long gap.
Tank-mixing has an order. If you ever mix two products and the labels don’t give an order, put dry formulations into a half-full tank of water first, keep it agitating, then add liquid flowables, then emulsifiable concentrates, and finally surfactants and dyes. Wrong order and they can clump or separate. When unsure, jar-test a small proportional sample first — if it layers, sludges, or heats up, don’t put it in your sprayer.
Don’t disturb a pre-emergent barrier after you lay it. Because the barrier lives in the top half-inch of soil, digging, heavy raking, or core aeration can punch through it and open gaps where weeds slip in. There’s some disagreement here — several extension programs warn strongly against aerating after a pre-emergent, while others find the barrier fairly robust because the product binds tightly to soil. The sensible read: the risk is real and it’s biggest in compacted, sandy, or low-organic soils where the chemical can’t redistribute into the holes. If you know you’ll aerate, do it before the pre-emergent, not after.
Contact versus systemic, chosen on purpose. A contact product (it only burns what it touches) is actually a safety feature in a bed — an accidental bit of overspray leaves a spot on a leaf, not a dead shrub — but it won’t kill a perennial’s roots, so the weed regrows. A systemic is the opposite: it’s the only way to truly kill an established perennial, but any drift onto a desirable plant travels through its whole system and can kill the entire plant, not just the spot it landed on. Match the tool to whether you need a root-deep kill or a low-risk touch-up.
Safety & Sensitivity Audit
Sold at a garden center doesn’t mean harmless. Treat every concentrate as a real chemical, because it is.
Signal words tell you how careful to be. On the front panel, one word ranks the acute hazard. CAUTION is the mildest, WARNING is a step up, and DANGER (sometimes DANGER–POISON with a skull symbol) is the most hazardous — a small amount can seriously injure. Read it before you buy.
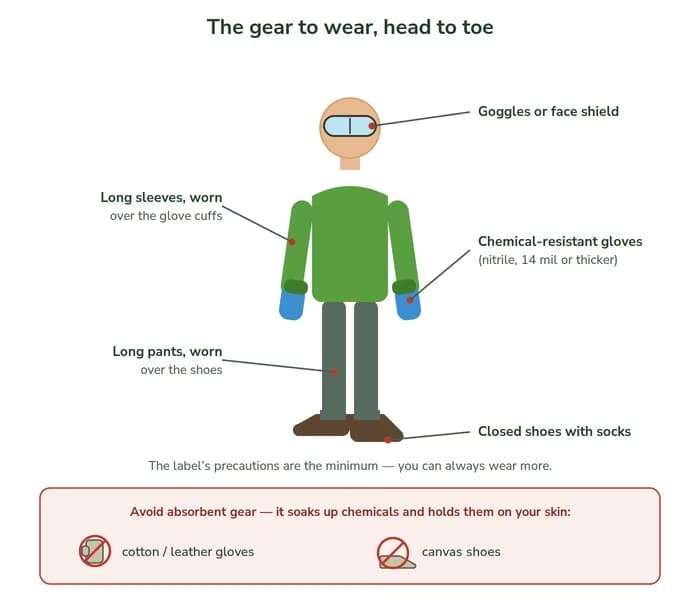
PPE, and why each piece is there. Most of your exposure comes through the skin of your hands and forearms, so protection starts there:
- Chemical-resistant gloves — nitrile for general spraying; barrier-laminate or butyl for handling concentrate. Skip anything absorbent: cotton, canvas, and leather soak up the chemical and hold it against your skin, which is worse than no glove. Thin disposable latex isn’t enough. Aim for a real, reusable glove (about 14 mils thick or more).
- Eye protection — goggles or a face shield, because splashes and drift head for the eyes.
- Long sleeves and long pants — worn with sleeves over the glove cuffs for ground-level spraying so liquid can’t run down into the glove; an apron adds protection while mixing.
- Closed shoes with socks, pant legs over the shoes. No canvas or leather footwear — same absorbency problem as gloves.
The label’s precautionary section sets the legal minimum — you can always wear more, never less.
Re-entry: keep people and pets off until it’s dry. Nobody and no pet back on the treated area until a spray has dried completely, or until granules have been watered in and the surface has dried. Wet residue is the main way product gets onto skin and paws and tracked indoors. Children, pregnant women, and the elderly are the most vulnerable — give them extra time.
Cleanup, storage, and disposal — the part everyone skips.
- Rinse equipment with clean water and capture that rinse water — apply it to a labeled site or save it for your next batch. Never pour it down a sink, toilet, storm drain, or the street.
- Triple-rinse the empty container before residue dries: a quarter full, cap, shake, pour into your tank, repeat twice, then puncture it so it can’t be reused. A triple-rinsed, punctured container is ordinary trash or recycling; a full one is not.
- Store in the original labeled container — never a food or drink bottle — locked away from kids and pets, out of freezing and heat, both of which wreck the product.
- Dispose of leftovers properly. Buy only what you’ll use in a season. Anything you can’t apply to a labeled site goes to a household hazardous-waste event — your county extension office or solid-waste authority can point you to one.
- Wash up. Launder application clothes separately, and wash hands and face with soap and warm water before eating, drinking, or going inside.
Protect the water and the plants around you. Keep an untreated buffer near vegetable gardens, ornamental beds, ponds and ditches, and property lines — and remember that runoff and vapor both travel. For spraying along a fence line or where your turf meets a neighbor’s, that’s its own situation with its own rules: see how to kill weeds where two lawns meet without harming your neighbor’s grass.
Sources
This guide synthesizes U.S. land-grant university Cooperative Extension, pesticide-safety-education (PSEP), and turfgrass- and horticulture-science guidance, with EPA and product-label material used only for legal, label-compliance, and re-entry facts. Specific figures are drawn from the following institutions and programs:
- North Carolina State University Extension — post-emergent weed control in landscapes; spatial and mechanical selectivity in mixed beds.
- University of Florida IFAS Extension — weed control and pre-emergent use in landscape planting beds; drift; mulch depth.
- Clemson University Cooperative Extension — herbicide damage to landscape plants; ornamental sensitivity; barrier and aeration cautions.
- Penn State Extension — sprayer calibration and PPE; nursery and landscape weed control; burndown/replant timing.
- Purdue University Extension and Purdue Landscape Report — calibration and area math; “When Roundup Isn’t Roundup” brand-versus-chemistry guidance.
- Michigan State University Plant & Pest Diagnostics — “Not your mother’s Roundup” reformulation and label-reading guidance.
- LSU AgCenter — reformulation of homeowner Roundup; consumer versus professional formulations.
- University of Tennessee Extension — “What’s in that Jug?”; understanding herbicides and bed re-treatment.
- Utah State University Extension — landscape and garden weed control; spot treatment; aeration timing.
- University of Illinois Extension — wick, wipe, and paint application methods.
- University of Arkansas Cooperative Extension — graminicide tolerance in landscape plantings.
- Rutgers Cooperative Extension — plant-back restrictions; pre-emergent barrier integrity.
- Kansas State University Extension — residual herbicides and soil degradation.
- Ohio State University Extension — pre-emergence planning and bed re-treatment intervals.
- University of Minnesota Extension — calibrating and using granular herbicides.
- Cornell PSEP and Virginia Tech Pesticide Programs — safety precautions, drift physics, and weather-wise application.
- Washington State University (PICOL) — over-the-top versus directed-only label definitions.
- National Pesticide Information Center (NPIC) and U.S. EPA / FIFRA — signal words, label compliance, and re-entry.