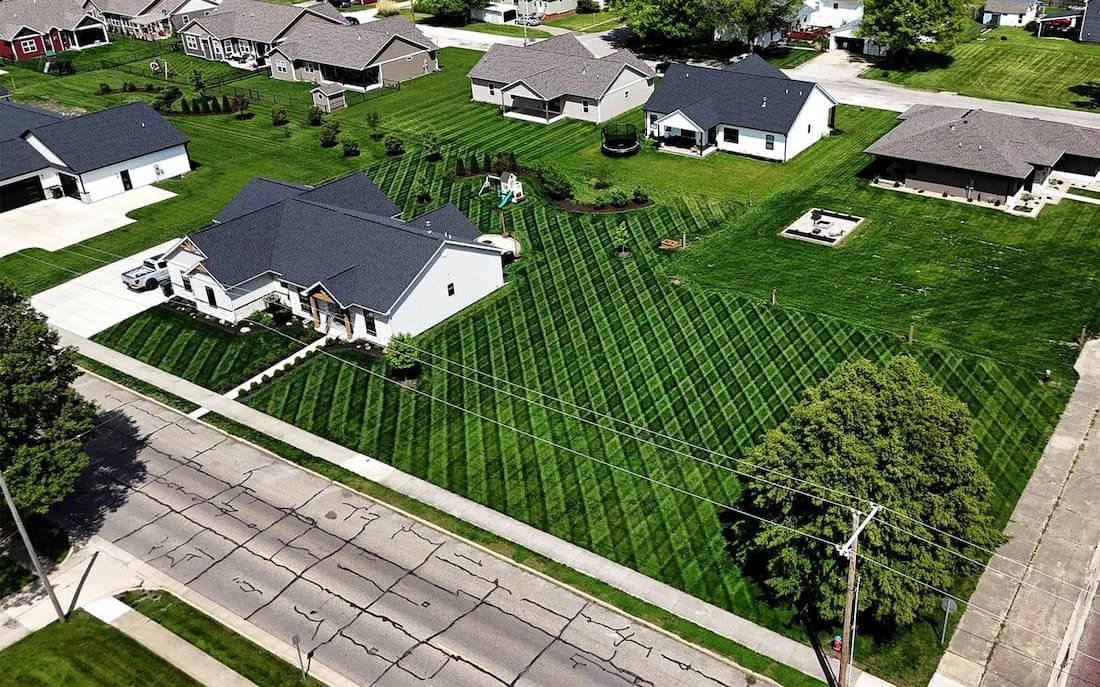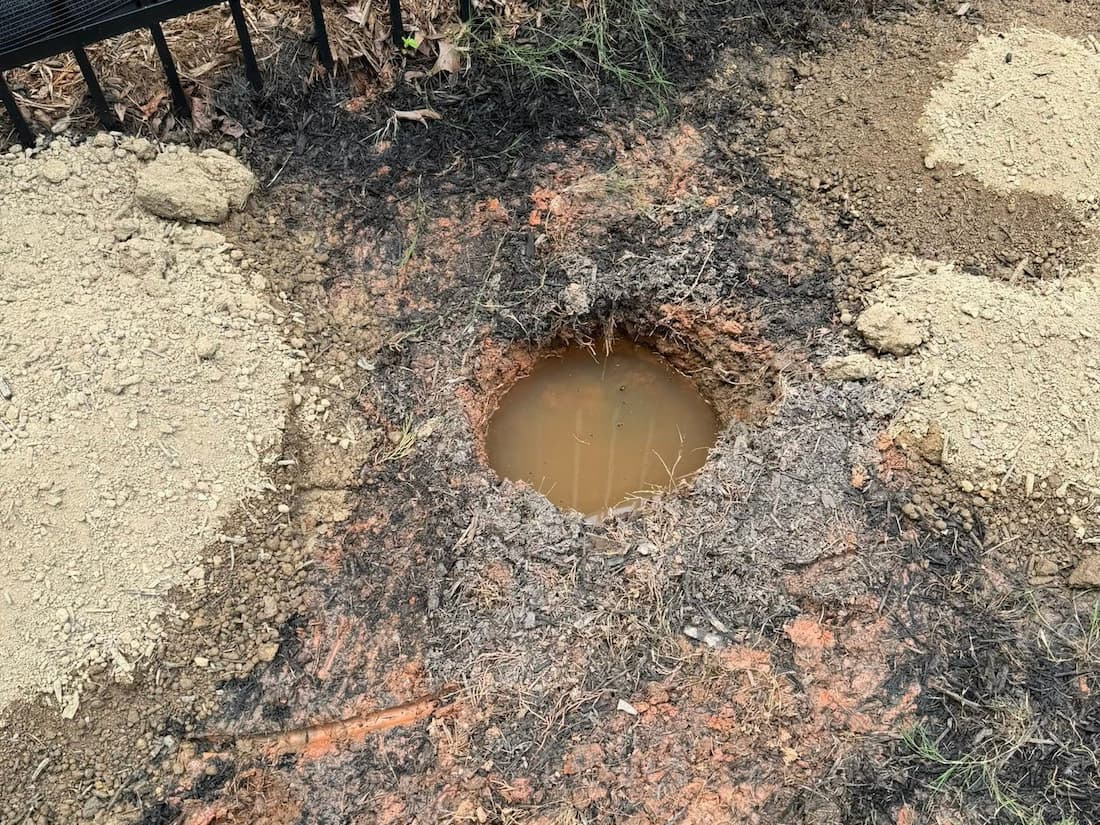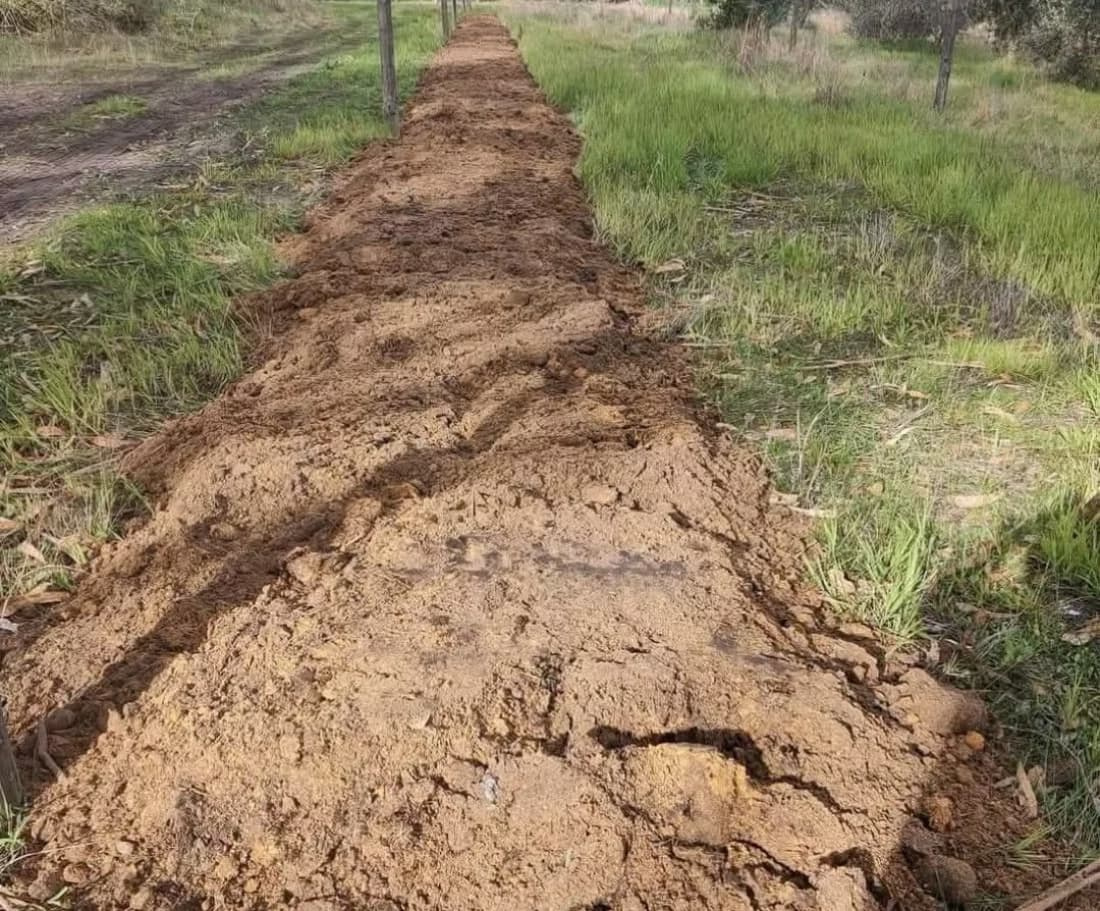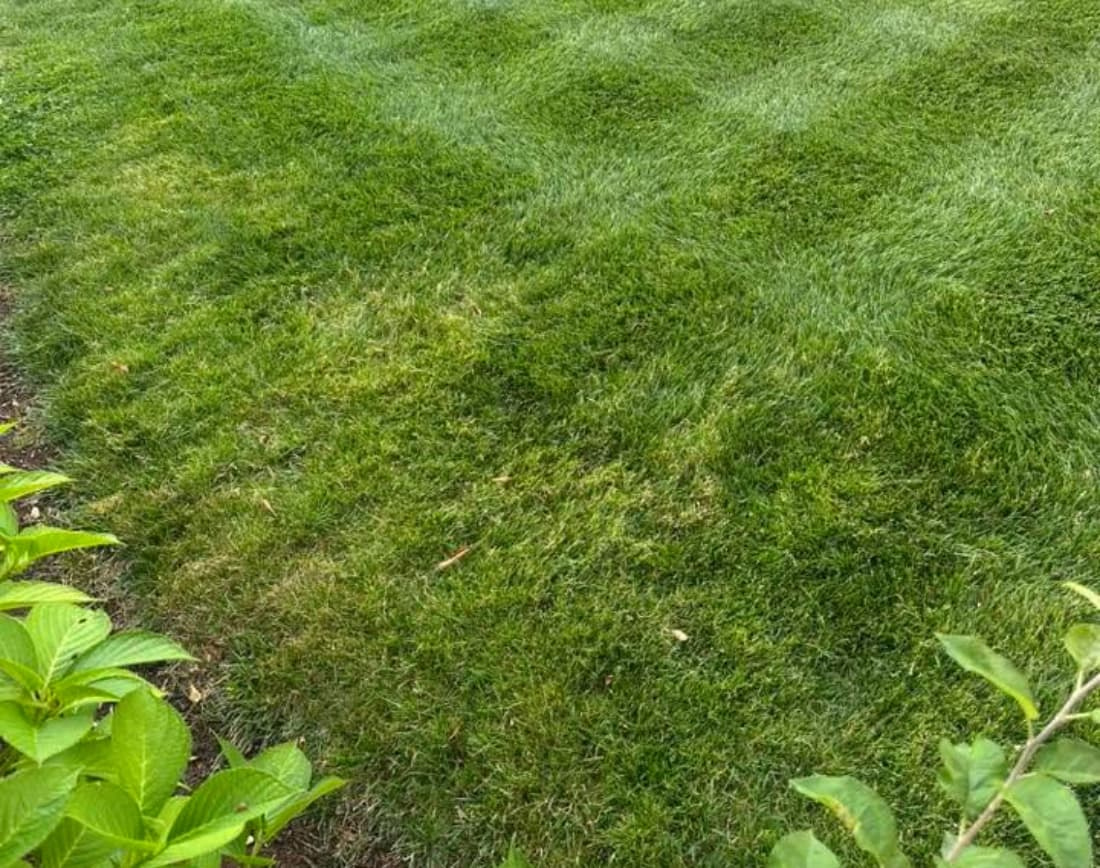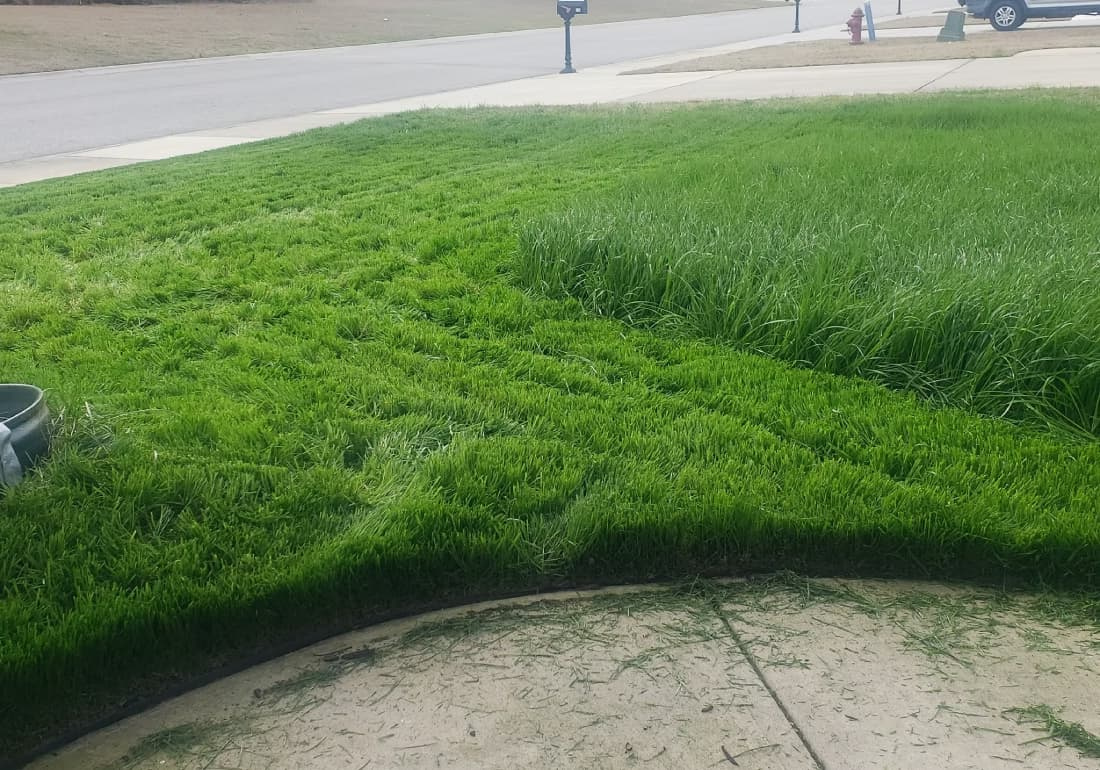
Ask around online and you’ll hear the same story with different details. Someone follows the bag rate exactly, waters every day like the instructions say, and three weeks later has a lawn that’s thin, patchy, or just gone — and the seed gets blamed, or bad luck, or a bad batch. Someone else lays sod, soaks it faithfully for a month, and finds it still pulls up like a loose carpet, with wide brown gaps opening at every seam. Someone plants Zoysia plugs a foot and a half apart because they heard it “triples its footprint every season,” then watches the bare dirt between them fill with crabgrass for two or three years instead of grass. Someone mows the new lawn the first chance it looks long enough, and a week later it’s yellow, thin, and dying in the exact stripes the mower wheels left behind.
None of these are bad-luck stories. They’re the same handful of mistakes, showing up in different costumes — watering wrong for the stage the grass is actually in, planting the wrong way for the species actually in the ground, mowing before the roots have anywhere to hold on. The seed that “never came up” usually did try — it just dried out and died mid-swallow, a few hours after a light rain, in a cycle nobody watching from the porch could see. That’s the part almost nobody tells you before you start: a new lawn doesn’t die from one big mistake. It dies from doing an ordinary thing at the wrong moment, over and over, without ever knowing it.
The MFY Advice
A new lawn isn’t a bag of seed or a pallet of sod — it’s a sequence. Soil prep, then the right planting method for your grass, then starter fertilizer matched to what your soil actually needs, then watering that changes as the grass grows up, then a first mow only once the roots can take it. Skip the order, or run one stage on autopilot past the point it’s helping, and the lawn pays for it weeks later in ways that look like bad seed or bad soil but almost never are. Get the sequence right, in order, for the grass you actually have, and there’s very little left to guess at.
Table of Contents
Why Your New Lawn Lives or Dies Underground First
What Actually Happens When a Seed “Comes Up”
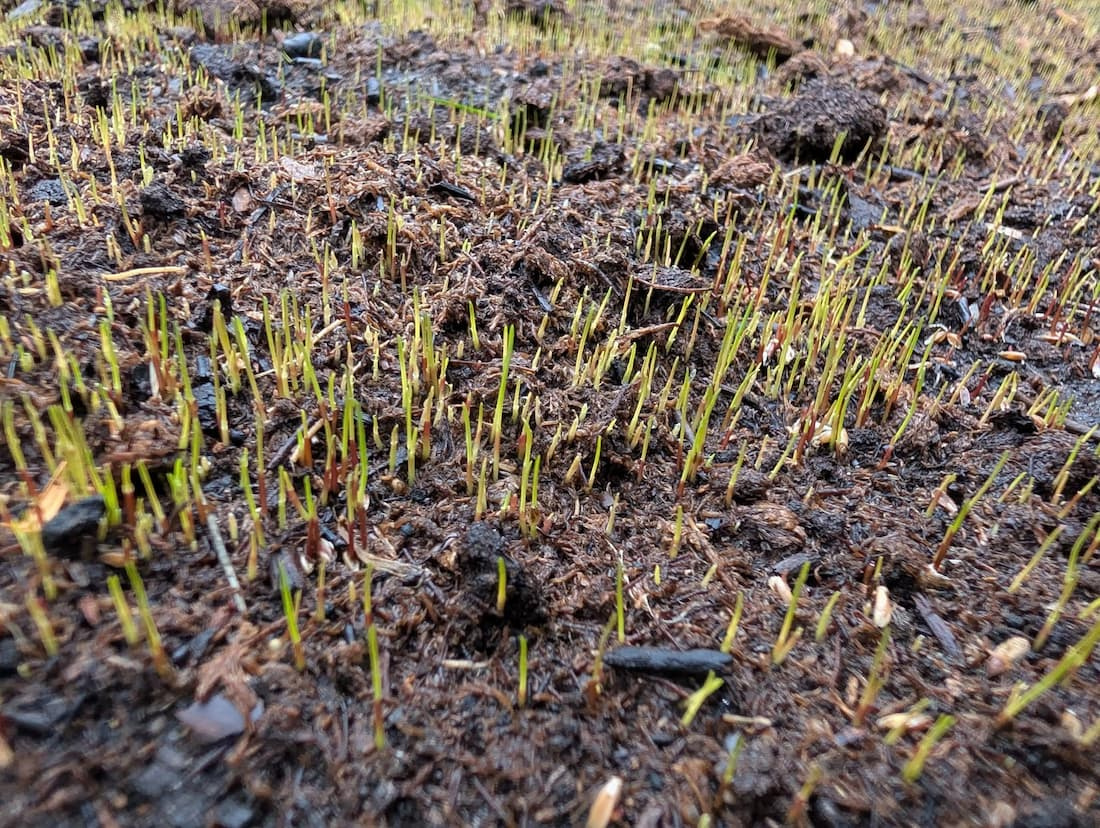
A grass seed isn’t asleep until water wakes it up — once it starts absorbing water, it can’t stop and go back to sleep. That first step is called imbibition, and it kicks off a one-way process: the seed uses its stored energy to start building roots and a shoot, and it keeps spending that energy whether or not conditions stay good. If the soil dries out partway through — even for a day, even just on the surface — the seed doesn’t pause and wait. It keeps trying, burns through its limited fuel, and dies before it ever breaks the surface. That’s why a lawn can get watered “every day” and still fail: one dry afternoon in the middle of that process is enough. From the porch, it just looks like the seed “never came up.” Underground, it came up, ran out of energy, and stopped.
Why Not Every Grass Can Be Grown From Seed
This is also why some lawns are seeded and others never are, no matter how good the seed looks on a shelf. Common Kentucky bluegrass, tall fescue, and common bermudagrass all produce seed that grows into more of the same plant. But many of the grasses bred for a denser, finer home lawn — most hybrid bermudagrass varieties and every St. Augustinegrass variety sold for lawns — are propagated by cuttings, the same way you’d grow a plant from a clipping instead of a seed packet. Either they don’t produce seed at all, or the seed they do produce doesn’t grow into the same grass. For those grasses, sod, plugs, or sprigs aren’t a shortcut or an upsell — they’re the only way in. Zoysiagrass sits in between: it can be grown from seed, but grows in so slowly from seed that the bare soil around it stays open to weeds for months, which is why almost every home lawn gets Zoysia as sod instead.
Why Timing Matters More Than Effort
The same logic explains why the calendar matters as much as the technique. Cool-season grasses put on their fastest growth when soil and air sit in a fairly narrow window, roughly 65 to 75°F. Homeowners tend to seed in spring, when the weather finally feels plantable — but spring soil is still catching up to the air temperature, weeds like crabgrass are germinating on the same schedule, and a seedling that sprouts in May has only a few months to build a root system before summer heat arrives and tests it. Seed the same grass in late summer instead, and it gets cooling weather, less weed competition, and a full fall and spring to root in before its first real heat stress. No amount of careful watering fixes a lawn planted in the wrong month — the biology underneath just isn’t built for it.
Figuring Out What You’re Actually Planting
This Guide Is for Bare Soil, Not a Thin Lawn
Before anything else: this guide is for starting from scratch — new construction, a full kill-off and restart, or dirt that’s been bare a while. If you have an existing lawn that’s just thin or patchy in spots, overseeding into living grass runs on different rules than planting into open soil, and following this guide there will waste product and time. If that’s your situation, the short version is: keep your current mowing and watering routine, and treat the bare spots as a smaller, separate repair rather than a full establishment.
Know Which System You’re On First
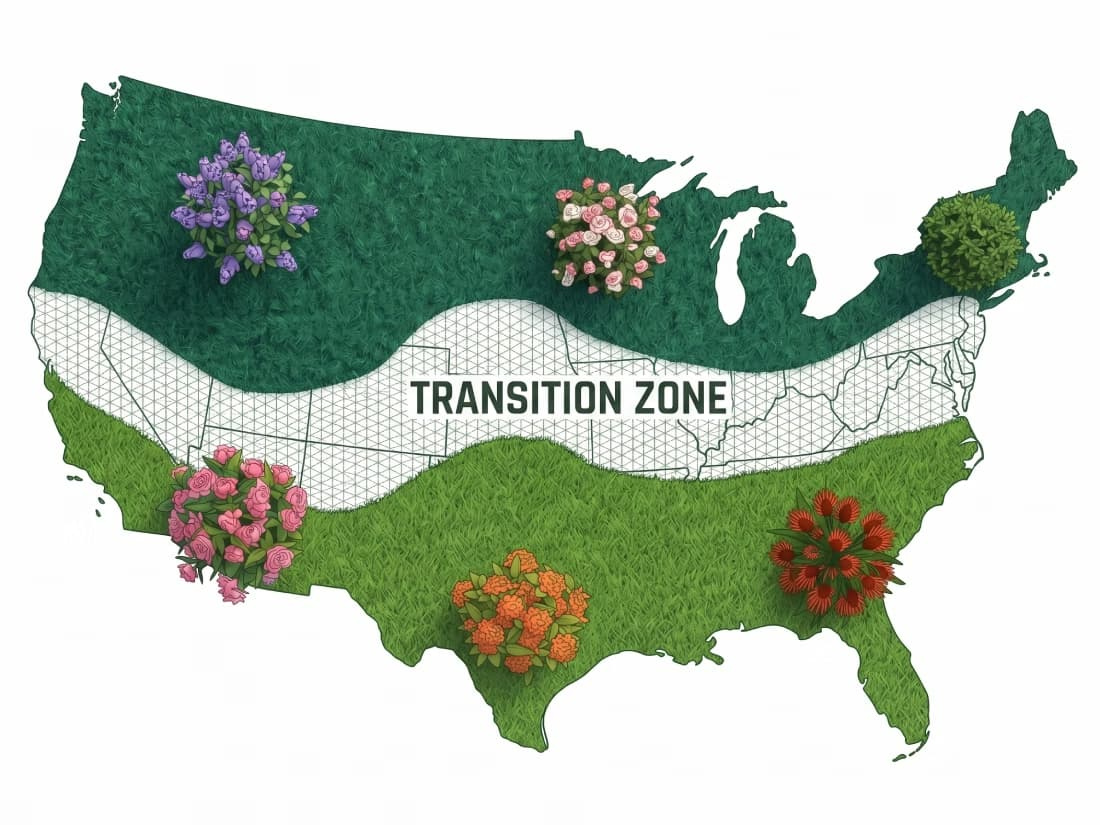
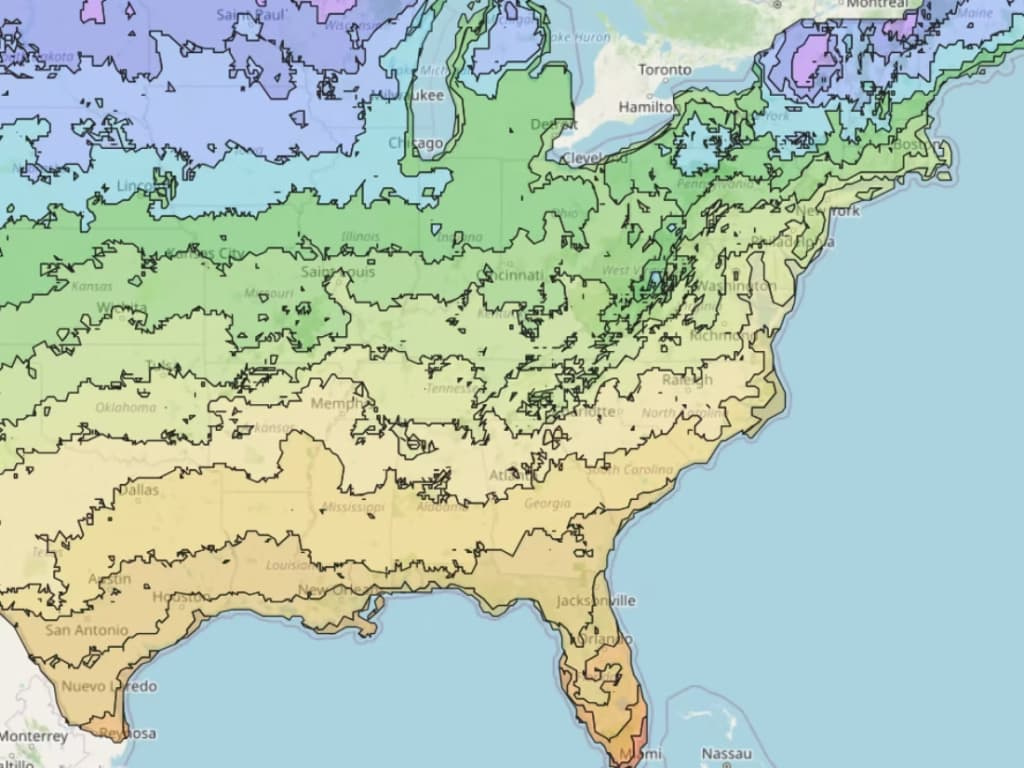
Every step from here on — soil prep, seeding rate, watering, first mow — depends on whether you’re planting a cool-season grass or a warm-season one, since the two run on completely different clocks. If you already know which one you’re planting, skip ahead. If you’re not sure which category your grass falls into, or you just moved somewhere new and aren’t sure what actually grows there, MFY’s guide to cool-season vs. warm-season lawns walks through exactly how to tell, region by region.
For Warm-Season Lawns: Seed, Sod, Sprigs, or Plugs?
Cool-season lawns are almost always seeded, so this question mostly doesn’t come up. Warm-season lawns are different — the right planting method depends entirely on which grass you’re putting in, for the biological reasons covered above:
- Common bermudagrass and centipedegrass can be seeded, and usually are — they’re the budget-friendly, DIY-seedable options.
- Hybrid bermudagrass (the dense, fine-textured varieties most home lawns actually use) and St. Augustinegrass can’t be grown from seed at all. These go in as sod, plugs, or sprigs, full stop.
- Zoysiagrass can technically be seeded, but grows in so slowly that almost every home installation uses sod instead, to avoid a year or more of bare soil and weeds.
Once you know your grass and your method, the rest of this guide splits along that line — soil prep is shared, but seeding rate, starter fertilizer timing, watering, and first mow all differ depending on whether you’re working with seed, sod, sprigs, or plugs.
The Actual Steps, In Order
Step 1 — Prep the Soil, No Matter What You’re Planting
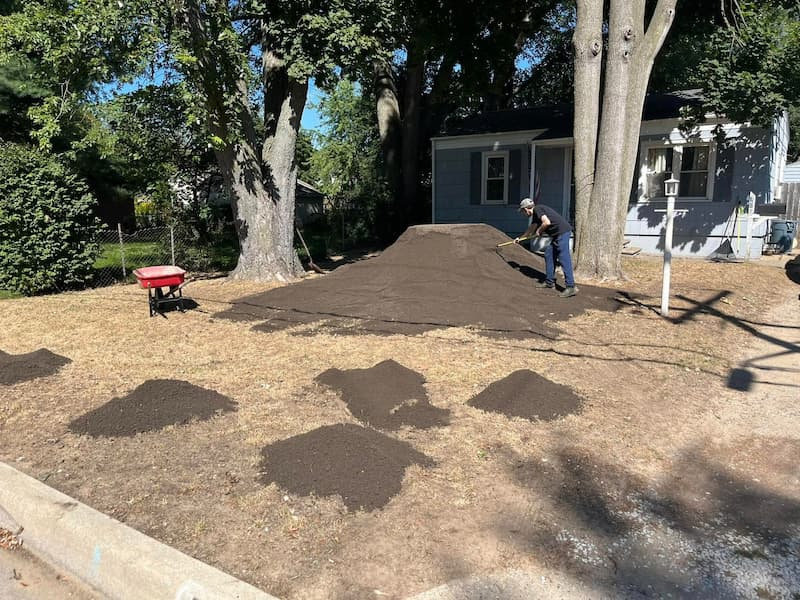
Get a soil test done before you touch anything — two to three months ahead if you can, since lime takes time to actually change your soil’s pH. While you wait on results, clear out anything solid: roots, rocks, old sod, construction debris, all of it, down a couple of inches. If you used a weed killer to clear the area first, don’t seed right away — glyphosate needs about a week to clear, and a selective broadleaf herbicide needs closer to a month, or you’ll damage the very grass you’re trying to grow. Till the cleared area 4 to 6 inches deep, working in compost if your soil is heavy clay or thin sand, then grade it so water runs away from your house rather than pooling against the foundation. Firm the seedbed with a half-full water roller before planting — you want a footprint that barely dents the surface, not one that sinks in. The one exception: if you’re planting sprigs, leave the top couple of inches loose instead of rolling it, so the sprigs can actually be pressed into the soil.
Step 2 — Seeding Rates, If You’re Seeding
How much seed you put down matters more than most people think — too little and weeds fill the gaps, too much and the seedlings choke each other out and end up thinner in the long run, not thicker. As a practical starting point for a new lawn from bare soil (not overseeding — that number is always lower):
- Kentucky bluegrass: about 2 lbs per 1,000 sq ft.
- Tall fescue: 6 to 8 lbs per 1,000 sq ft.
- Fine fescue: 3 to 6 lbs per 1,000 sq ft.
- Perennial ryegrass: not recommended on its own in the coldest parts of the country — it winterkills easily — but where it’s used alone, 3 to 5 lbs per 1,000 sq ft is typical.
- Common bermudagrass: 0.75 to 1 lb PLS per 1,000 sq ft.
- Centipedegrass: 0.5 to 1 lb PLS per 1,000 sq ft.
- Zoysiagrass: 1 to 2 lbs PLS per 1,000 sq ft, though as covered above, almost nobody actually seeds zoysia.
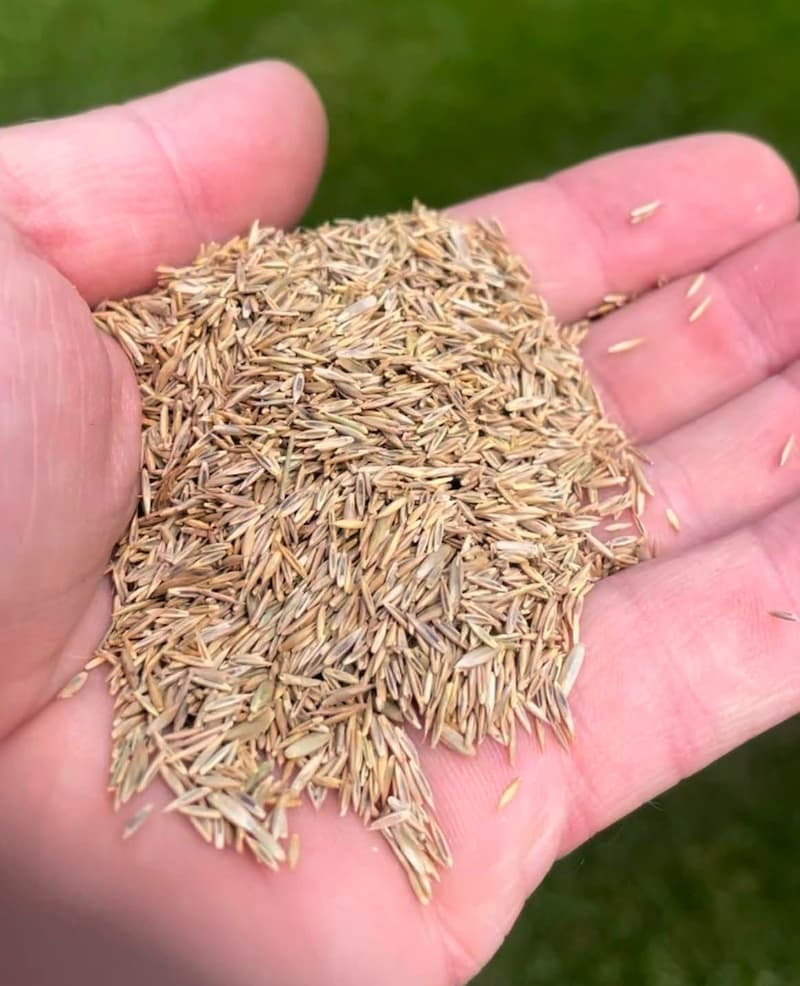
Split whatever total you’re putting down into two equal batches and spread one north-south, the other east-west, with a calibrated spreader — a single pass in one direction almost always leaves visible thin stripes. And for cool-season grasses specifically: seed in late summer to early fall, not spring. Spring-sown seedlings are racing crabgrass and summer heat at the same time, and usually lose.
Step 3 — If You’re Sodding, Sprigging, or Plugging Instead
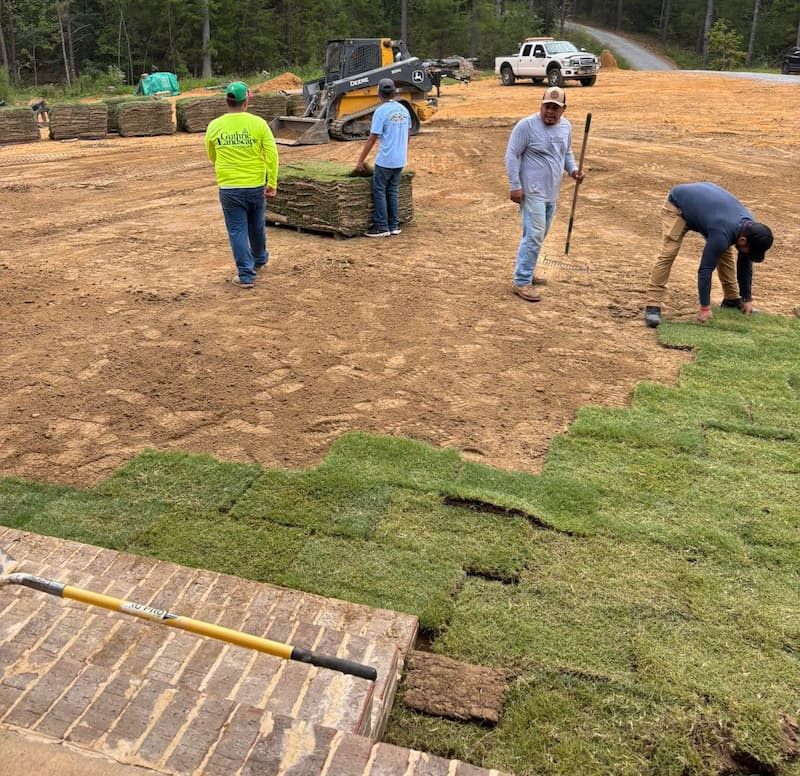
- Sod is perishable — Texas A&M’s guidance is to get it in the ground within 36 hours of being cut, since a pallet sitting in the sun starts cooking itself from the inside. Lay strips tight against each other with staggered seams (like bricks, not a checkerboard), and roll it immediately with a water-ballast roller — this is the step people skip, and it’s the difference between sod that roots and sod that sits on top of an air gap and slowly dies at the edges.
- Sprigs and plugs are slower by nature, not by mistake. A Zoysia plug typically spreads only 5 to 10 inches per growing season — the “triples its footprint every year” claim that circulates online isn’t accurate — so plugs set a foot or more apart can take two to four full seasons to close the gaps between them, with weeds filling that open soil the whole time. If you want faster coverage, tighter spacing costs more up front but saves years of waiting and weeding.
Step 4 — Starter Fertilizer
Starter fertilizer is built differently from regular lawn fertilizer — it’s higher in phosphorus, which young roots need close by since they can’t yet reach out far to find it.
- High soil-test phosphorus (above roughly 40 ppm): skip the high-phosphorus starter — it won’t help and it can actually burn seedlings — and use a zero-phosphorus formula instead.
- Centipedegrass: a special case regardless of soil test — it’s sensitive to phosphorus and often does better with a low- or no-phosphorus starter from the start.
- Formulas to avoid: urea or DAP, which can release enough ammonia near the root zone to burn seedlings — a starter using monoammonium phosphate (MAP) is the gentler choice.
- Worth knowing: several states restrict phosphorus fertilizer on established lawns, but carve out an explicit exemption for new lawns backed by a soil test — so a starter fertilizer that would be illegal on your existing lawn is often still allowed while you’re establishing a new one.
Step 5 — Watering From Planting to Established
This is where the schedule has to change as the lawn grows, not stay the same the whole time.
- Seed: keep the top inch of soil consistently damp with light waterings two to four times a day — never enough to puddle or wash seed away.
- New sod: soak it thoroughly on day one so water reaches 3 to 4 inches into the soil beneath it, then water once or twice a day for the first 10 to 14 days.
- Sprigs and plugs: fall in between — light, frequent watering for the first couple of weeks while roots are forming.
Once seedlings reach an inch or two tall, or sod/sprigs/plugs pass a simple pull test (tug a corner or a blade — if it holds firm, roots have taken), start backing off: water less often but more deeply, pushing roots downward instead of keeping them shallow. By the time the lawn’s been mowed two or three times, it should be on a normal mature-lawn schedule — about an inch of water a week, in one or two deep soakings, not daily sips.
Step 6 — The First Mow
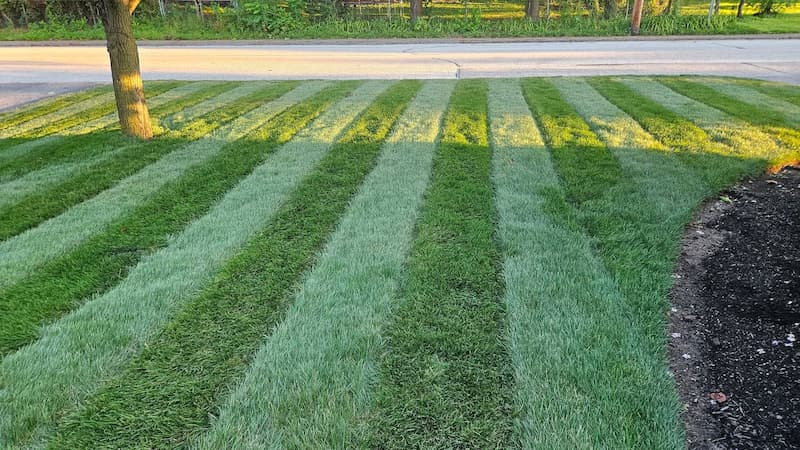
Don’t mow by the calendar — mow by height, and never take off more than a third of the blade in one pass.
- Cool-season seed: let it reach 4 to 4.5 inches before cutting it back to around 3 inches.
- Warm-season sod: mowed shorter, generally cut back to 2 to 2.5 inches once it reaches 3 to 3.5 inches.
Before you mow at all, though, two things have to be true regardless of species: the lawn passes a pull test (it’s rooted, not just sitting on the soil), and the ground itself is dry and firm — hold off watering for a day or two beforehand so the mower doesn’t rut or compact wet soil. Sharpen the blade first; a dull one tears leaf tips instead of cutting them, which invites disease into the wound. And hold off on any broadleaf weed killer until the lawn’s had three real mowings or about 60 days since it came up — new grass is too sensitive to handle it any earlier.
Why the Instructions Don’t Always Match
Why Seeding Rate Recommendations Vary So Much
Look up how much tall fescue seed to put down and you’ll find answers anywhere from 4 to 10 lbs per 1,000 sq ft, and that spread isn’t anyone being wrong. Virginia Cooperative Extension and Penn State’s turf research center land on the lower end, in the 4 to 6 lb range, because their numbers assume a solid fall planting window — Penn State’s own research found that going past 6 lbs, even up to 18, added no real benefit and just left seedlings competing with each other for the same space. Missouri Extension and the University of Minnesota push closer to 7 to 10 lbs instead, especially for spring planting, because their conditions bring heavier weed pressure and drought risk, where a few extra seedlings surviving matters more than a cleaner, less crowded stand. Perennial ryegrass shows the same split in a sharper form: Minnesota won’t even give a pure-stand rate, since the grass doesn’t reliably survive its winters, while Missouri recommends a hearty 7 to 10 lbs specifically because ryegrass sprouts fast and covers ground before weeds get a foothold. If you’re seeding in good fall conditions, lean toward the lower end of whatever range you find; if you’re seeding in spring, in a hot or dry region, or without irrigation, the higher end is the safer bet.
Should You Fertilize the Day You Plant, or Wait?
This is one of the more genuine splits in the research, not just a difference in wording. Penn State and Michigan State both say apply nitrogen right at planting, so it’s already available the moment roots start functioning. Cornell disagrees on principle: a seed with no working root system yet can’t use nitrogen regardless of when you apply it, so Cornell delays nitrogen for two to three weeks after seedlings emerge, arguing that anything applied earlier just leaches away or feeds weeds instead of grass. Purdue and Missouri sidestep the nitrogen debate entirely by focusing on phosphorus at planting instead, since phosphorus barely moves through soil and has to already be sitting exactly where the new root will grow. Warm-season guidance splits the same way: Clemson is comfortable with a slow-release starter fertilizer at planting, while LSU and Mississippi State prohibit nitrogen at planting outright, waiting anywhere from 10 days to 40 days depending on the grass and the planting method. In practice, a slow-release starter applied at planting is defensible almost everywhere; if you’re using a fast-release product instead, waiting until seedlings are up and rooted is the safer call.
Why “Wait Until It’s 4 Inches” and “Mow at 3 Inches” Are Both Right
Even something as basic as when to make the first cut has two answers. Missouri, Michigan State, and University of Wisconsin–Madison all say mow cool-season seedlings as soon as they hit 3 inches, on the reasoning that an earlier cut stops the plant from wasting energy growing tall and pushes it to spread sideways sooner instead. Cornell disagrees, holding off until seedlings reach a full 4 inches — specifically so the cut lands almost exactly on the one-third rule, removing close to (but never over) a third of the leaf in one pass. Both approaches work. What actually causes damage is following neither one, and mowing whenever the lawn “looks like it needs it” instead of at a real height threshold — cutting a floppy, overgrown lawn down all at once is what tears seedlings out and sets growth back for weeks. Pick either threshold, hold yourself to the one-third rule around it, and either way is fine.
The Phosphorus Rule That Doesn’t Apply the Way You’d Expect
If you’ve heard phosphorus fertilizer is more or less banned where you live, you’ve heard right — but that rule almost never covers a brand-new lawn. States including Maine, New York, Pennsylvania, Minnesota, Wisconsin, and Michigan restrict phosphorus on established turf specifically to keep it out of lakes and streams, and the University of Maine and Cornell’s turf program both confirm the restriction is real and enforced. What most homeowners don’t realize is that these same laws almost always carve out two exceptions: one for a lawn actively being established from bare soil or sod, and another any time a recent soil test shows phosphorus is genuinely needed. So the same starter fertilizer that would be illegal to spread on your neighbor’s established lawn is typically fine to use while you’re getting new grass going — as long as a soil test backs it up. Get the test either way; it’s also the only way to know whether your soil actually needs that phosphorus in the first place, or whether you’d just be wasting it (or worse, burning seedlings with it).
Safety & Sensitivity Audit: Protecting Your Home and Environment
A few points from this guide are worth flagging directly, since getting them wrong isn’t just a wasted lawn — it carries some real risk.
Herbicide waiting periods before seeding aren’t a suggestion. Glyphosate needs about a week to clear before you disturb the soil, selective broadleaf herbicides need closer to a month, and a pre-emergent product applied within two weeks of seeding can prevent your new grass from germinating at all. Whatever product you use, follow its label exactly — including how long to keep kids and pets off the treated area, which varies by product and isn’t always the same as the planting waiting period.
Phosphorus fertilizer restrictions are genuinely enforced in a number of states, and while new-lawn and soil-test exemptions are common, they aren’t universal or automatic — check your own state or local rules before assuming a starter fertilizer is exempt, rather than relying on this guide or a bag label alone.
Skip fresh manure or any uncomposted organic material as a soil amendment. Beyond tying up nitrogen and slowing establishment, fresh manure can carry pathogens like E. coli, which is a real concern on a surface kids and pets will eventually be playing on.
Handle lime, sulfur, and fertilizer bags with basic care — gloves and a mask when spreading are reasonable precautions, especially with sulfur, and any of these products should be kept away from children and stored somewhere pets can’t get into the bag.
Finally, treat mowing equipment with the same caution you would on an established lawn: sharpen blades with the spark plug disconnected or the mower unplugged, never mow wet or saturated soil where footing is unstable, and never mow slopes with a walk-behind mower in a straight up-and-down line — go across the slope instead.
Sources
This guide draws on turfgrass and horticulture research and extension guidance from Purdue University, Cornell University, Michigan State University, the University of Wisconsin–Madison, Clemson University’s Home & Garden Information Center, Mississippi State University Extension, the LSU AgCenter, Texas A&M AgriLife Extension, Penn State Extension, Virginia Cooperative Extension, the University of Minnesota, the University of Maine Cooperative Extension, and the University of Missouri Extension.