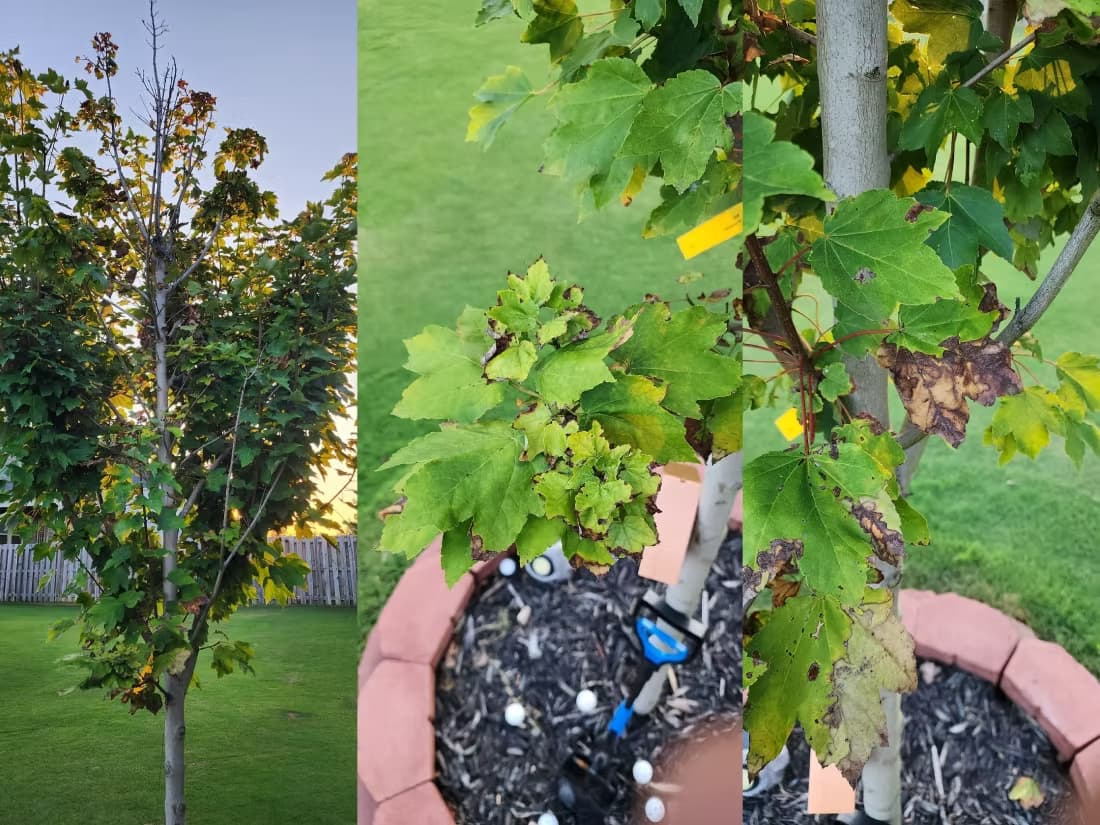
“I dug it a nice deep hole and filled it with good compost.” “Gave it plenty of room to grow down.” “Threw in a bag of topsoil to get it started.” “It looked fine all summer and then just died on me.” “Must have been a bad plant from the nursery.” Somewhere along the way, planting turned into digging the deepest hole you can manage and filling it with the most expensive thing on the shelf. The results are predictable: a shrub that looked healthy through its first season and stalled through its second, a tree whose trunk enters the ground like a telephone pole instead of flaring out, and a root ball that lifts out three years later still the exact shape and size of the pot it arrived in. Nearly every one of these traces back to the same thing — the plant never actually left the container. It moved into a bigger one you dug for it.
The MFY Advice
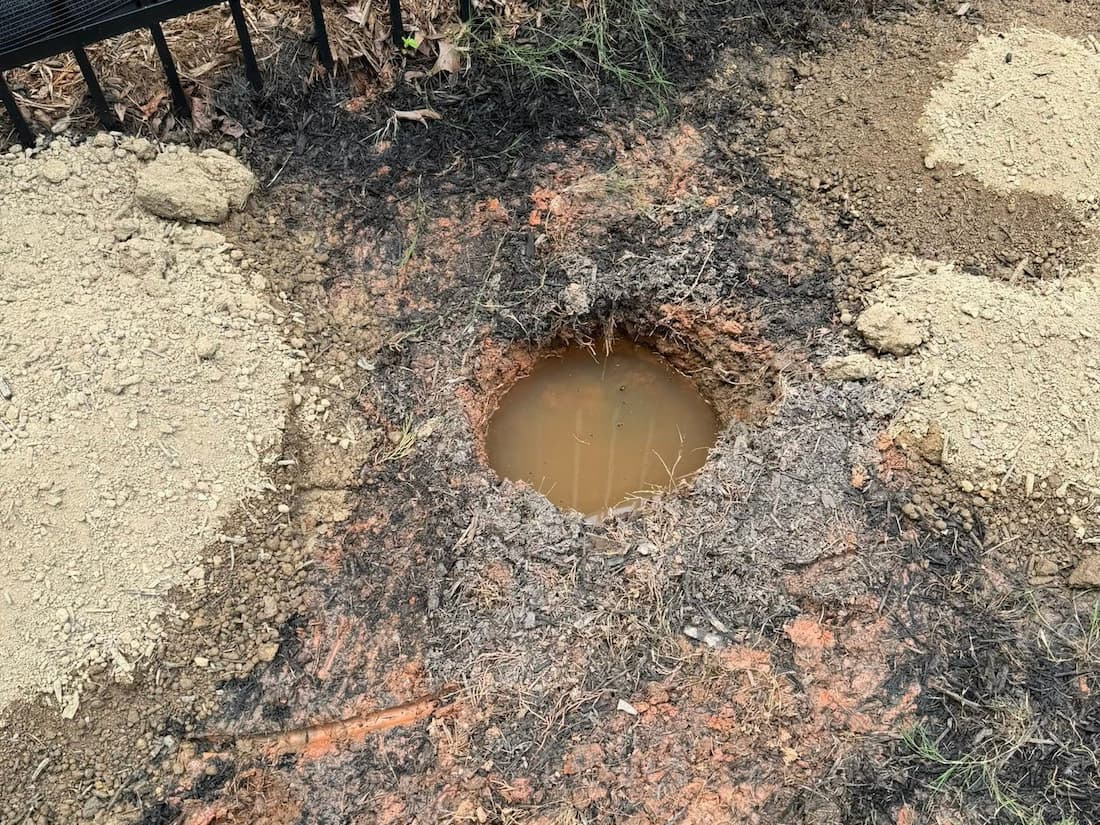
Dig the hole before you buy the plant, fill it with water, and walk away. Come back the next day. If water is still standing in it, that spot will drown roots and no planting technique will save what you put there — fix the drainage or choose somewhere else. If it drained, run a screwdriver into the moist soil at the bottom and sides; anything that stops within a couple of inches means the ground is tight enough that roots will circle rather than escape. Both tests cost nothing, take a day, and happen before you have spent money on a plant or your weekend on planting it. Almost nobody does them, which is why the same failure repeats in yard after yard.
Table of Contents
The Plant Leaves One Pot and Goes Straight Into Another
A nursery plant arrives already shaped by a container. Its roots have hit smooth plastic walls, turned sideways, and begun circling. That is normal and fixable, provided the next place it goes lets roots run outward.
In compacted ground, it does not. You dig a hole in dense soil, and what you have made is a second container — smooth-sided, poorly drained, and surrounded by material the roots cannot penetrate. The plant does exactly what it did in the pot: circles.
The cruelty of it is the timing. For the first season, the plant lives largely off the root ball it came with and looks perfectly healthy. You conclude the planting went well. By the second summer it stalls, drops leaves early, and scorches at the margins. By the third it is dying back, and by then nobody connects it to a hole dug two years earlier.
What Glazing Actually Is
Dig into moist clay with a spade and the blade does not cut the soil so much as smear it. Clay particles are flat and plate-shaped, and pressure aligns them into a compressed, polished skin along the wall of the hole — a process called glazing.
That skin is dramatically less permeable than the soil either side of it. Water struggles to pass through it, and so do roots. Powered augers are the worst offender because the rotating action burnishes the wall as it cuts, but a spade in wet clay does plenty on its own.
You can see it. Look at the wall of a freshly dug hole in clay: if it is smooth and slightly shiny, you have glazed it. Soil that has been cut rather than smeared looks rough and broken, with visible crumb structure.
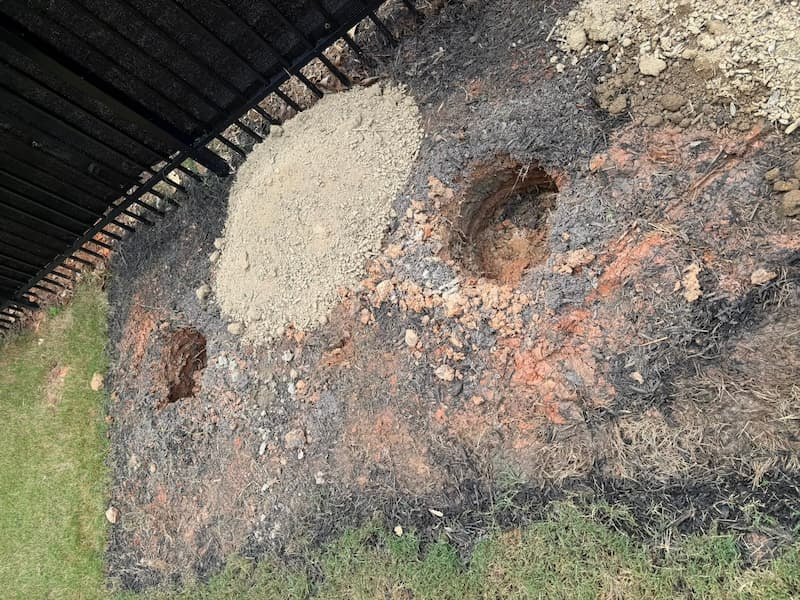
The fix takes about a minute. Once the hole is dug, drag a garden fork, a cultivator, or the corner of the spade down the sides and across the bottom to break the surface up. You are not trying to enlarge the hole — you are destroying the skin so roots and water have a route out.
Why the Amended Backfill Makes It Worse
The instinct to fill the hole with something better than what came out is sound-sounding and reliably fatal.
Water does not readily cross a boundary between two different soil textures. Fill the hole with loose compost or bagged topsoil and water moves happily through it, reaches the dense wall, and stops. Rainfall from the whole surrounding area funnels in and has nowhere to go. What you have built is an unlined basin in the ground, and after a wet week the roots are sitting in it. That is the same physics that makes gravel in the bottom of a pot worsen drainage rather than improve it.
There is a second problem. Roots strongly prefer easy soil, and if the backfill is much looser than the surrounding ground they will stay in it rather than pushing out into the harder material. You have given them a comfortable reason not to leave.
Backfill with the native soil you took out. If you want organic matter, put it on top as mulch, where worms and rainfall will carry it down across the whole root zone rather than concentrating it in a pit.
Roots Go Out, Not Down
Most people picture a root system as a mirror image of the branches, driving deep into the ground. It is not remotely that shape.
The majority of a tree or shrub’s absorbing roots sit in the top 12 inches of soil, and they extend outward well past the edge of the canopy — often two to three times the width of the branches. A mature shrub’s working root zone is a wide shallow plate, not a deep taproot.
That reframes the whole exercise. The hole you dig is a temporary staging area the plant occupies for one season. What determines whether it thrives is the condition of the soil for several feet in every direction, which is soil you never touched.
It also explains why digging deeper is worse than useless. Loose backfill under a root ball settles over the following months and the plant sinks, ending up too deep. Never dig deeper than the height of the root ball — let it sit on undisturbed ground.
The strategic version of this: wherever you can, prepare a whole bed rather than a series of holes. Loosen and improve a continuous area, then plant into it. One well-prepared bed beats a dozen well-dug holes, because the roots were always going to leave the hole.
How to Tell Before You Dig
Three tests, none of which cost anything.
The screwdriver test. After rain or a thorough watering, push a 6-inch screwdriver into the ground with moderate hand pressure. If it slides most of the way in, the soil is workable. If it stops within 2 inches, the ground is compacted past the point roots can handle, and a hole dug there will be a container. Test the intended spot and somewhere unaffected for comparison.
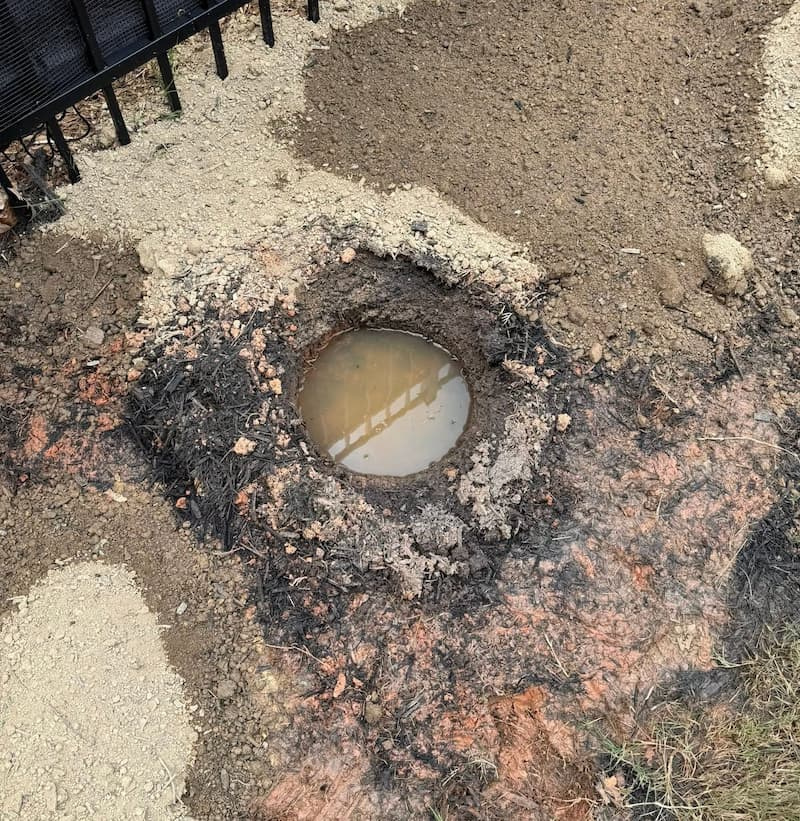
The drainage test. Dig the hole, fill it with water, let it drain completely, then fill it again and see how long the second fill takes to disappear. Empty within 24 hours means drainage is adequate. Water still standing after 72 hours means roots will drown there regardless of how well you plant.
The spoil test. Look at what you dug out. Soil that breaks into crumbs under thumb pressure has structure. Soil that comes out in dense slabs, or smears into a smooth face against the spade, does not — and if it smears, it is too wet to be digging at all. Wait two or three days after rain and check again.
Digging a Hole That Works
Once the ground has passed those tests, the planting itself is short.
Dig two to three times the width of the root ball and no deeper than its height. Wide and shallow, saucer-shaped, with sloping rather than vertical sides — a sloped wall is far harder to glaze and gives roots an easier angle out.
Rough up the sides and bottom with a fork to break any glazing. Then deal with the root ball itself: if roots are circling the outside, tease them loose, or shave the outer inch off entirely with a sharp knife. Cutting roots feels like damage and is the opposite — circling roots left intact will keep circling, thicken, and eventually strangle the plant’s own stem.
Backfill with native soil, firming gently to remove air pockets without compacting it. Water thoroughly to settle it. Then mulch wide and thin — 2 to 3 inches deep, out as far as you reasonably can, and pulled back a few inches from the stem or trunk.
The Other Half of the Problem Is Depth
Planting too deep kills as many landscape plants as compaction does, and the two often travel together.
Every tree and shrub has a root flare — the point where the trunk widens and the first structural roots branch out. That flare belongs at or slightly above the soil surface. Bury it and the bark, which is not built to sit in moist soil, begins to rot.
Here is the trap: nursery stock is very often already too deep in its own container, sometimes by several inches. If you plant so the container soil line matches your ground level, you bury the flare without ever knowing it.
Before planting, scrape soil away from the top of the root ball until you find where the trunk widens and the first roots emerge. That is your reference point, not the soil surface in the pot. Set it an inch or two above the surrounding grade, since the plant will settle.
What to Do About Plants Already in the Ground
You cannot re-dig an established plant, but the situation is not hopeless.
Mulch is the main tool, and it works because it changes soil beyond the hole. Two to three inches spread out to the edge of the canopy and beyond moderates soil temperature, feeds soil life, and softens the surrounding ground over several years so roots can eventually leave the hole. It is slow and it is genuinely effective.
Vertical mulching helps on stubborn sites. Drill or auger holes 2 inches wide and 12 inches deep in a grid across the root zone, keeping clear of the trunk, and fill them with compost. You are creating routes through the compacted layer without disturbing existing roots.
What not to do: do not pile soil or mulch against the trunk to fix a plant that is sitting too low, and do not fertilize a struggling plant to make it grow out of the problem. A plant with a restricted root system cannot support the growth that nitrogen forces, and pushing it makes the decline faster rather than slower.
Safety & Sensitivity Audit: Protecting Your Home and Environment
Before any digging deeper than a few inches, call 811 at least a few business days ahead — it is the free national Call Before You Dig line, utilities come out and mark buried gas, electric, water and communication lines at no charge, and in most states doing this is a legal requirement rather than a courtesy, quite apart from the fact that a spade through a gas line is a genuine emergency. Digging is harder on a body than it looks, so lift with your legs rather than your back, keep the load close, use a long-handled spade to reduce bending, and stop before you are tired rather than after. Wear gloves and keep your tetanus vaccination current, because soil is where tetanus lives and a scratch from buried wire or glass is all it takes. And be especially careful on newer developments, where construction debris such as broken concrete, rebar offcuts, plastic sheeting and buried lumber is routinely left in the ground — if you strike something solid, uncover and identify it before levering against it.